Creating a custom footer is one of the most impactful changes you can make to your WordPress website. It’s the final impression you leave on a visitor, a space to reinforce your brand, guide user actions, and provide essential information. While many themes offer basic footer options, building a custom footer with Elementor unlocks a world of design freedom and functional potential.
This comprehensive guide will walk you through the entire process, from understanding why a custom footer matters to implementing advanced design techniques, all without needing to write a single line of code.
Why Your Website Footer Deserves More Attention
Often relegated to an afterthought, the footer is a workhorse of website navigation and user experience. A strategically designed custom footer can:
- Improve Site Navigation: For visitors who scroll to the bottom of a page without finding what they need, the footer serves as a second chance. It’s an ideal place for links to important pages like Contact, About Us, Privacy Policy, and your site map.
- Build Trust and Credibility: Displaying contact information, business hours, trust badges, and social proof in the footer instantly makes your business appear more established and trustworthy.
- Boost Conversions: A well-placed call-to-action (CTA) button, an email newsletter signup form, or links to your latest products can turn a passive scroller into an engaged lead or customer.
- Enhance User Experience: By providing expected information like copyright details, legal links, and accessibility statements, you create a more professional and user-friendly experience.
- Strengthen Brand Consistency: The footer is prime real estate to extend your brand’s visual identity—using your logo, brand colors, and fonts—throughout the entire user journey.
Preparation: Setting the Stage for Your Custom Footer
Before you dive into Elementor, a small amount of preparation will ensure a smooth building process.
-
Choose Your Tools: Elementor Pro. To create a custom footer from scratch that applies across your entire site, you will need Elementor Pro. The Pro version unlocks the Theme Builder, which is essential for designing global site parts like headers, footers, and archive pages. The free version of Elementor only allows you to edit content within pages and posts.
-
Install and Activate Elementor Pro. Ensure both the free Elementor plugin and Elementor Pro are installed and activated on your WordPress site.
- Select a Theme. While Elementor Theme Builder works with most themes, it’s best paired with a lightweight, minimal theme like Hello Elementor, Astra, or GeneratePress. These themes are designed to get out of the way and let Elementor handle all the design work, preventing conflicts and ensuring optimal performance.
Method: Building Your Custom Footer with Elementor Theme Builder
This is the modern, recommended method for creating a footer that is consistent across every page of your website.
Step 1: Access the Elementor Theme Builder
From your WordPress dashboard, navigate to Templates > Theme Builder. This is your command center for all global site design.
Step 2: Create a New Footer Template
In the Theme Builder interface, locate the “Footer” section and click the “Add New Footer” button. Give your footer template a clear name, such as “Main Site Footer,” and click “Create Footer.”
Step 3: Choose Your Footer Structure
Elementor will present you with several pre-made footer block templates. You can select one to use as a starting point (a huge time-saver) or choose “Create From Scratch” to build completely from a blank canvas. For your first time, selecting a template and customizing it is highly recommended.
Step 4: Designing Your Footer with Elementor’s Editor
Once you select a template or a blank canvas, the Elementor editor will launch. This is where the magic happens. The interface is divided into two main parts: the canvas (preview of your footer) and the Elementor panel (on the left).
A typical footer is built using sections, columns, and widgets. Here’s how to structure it:
- Sections: These are the large horizontal containers. You might have one section for a “Above Footer” CTA, another for the main footer content, and a final one for the copyright bar.
- Columns: Within each section, you add columns to organize your content side-by-side. A common layout is a section with four columns: one for a logo/description, one for a menu, one for contact info, and one for a newsletter signup.
- Widgets: These are the building blocks you drag and drop into your columns. Essential footer widgets include:
- Site Logo: To display your brand mark.
- Text Editor: For a company description, copyright text, or address.
- Navigation Menu: To add a custom footer menu you’ve created in WordPress.
- Icons: For social media links.
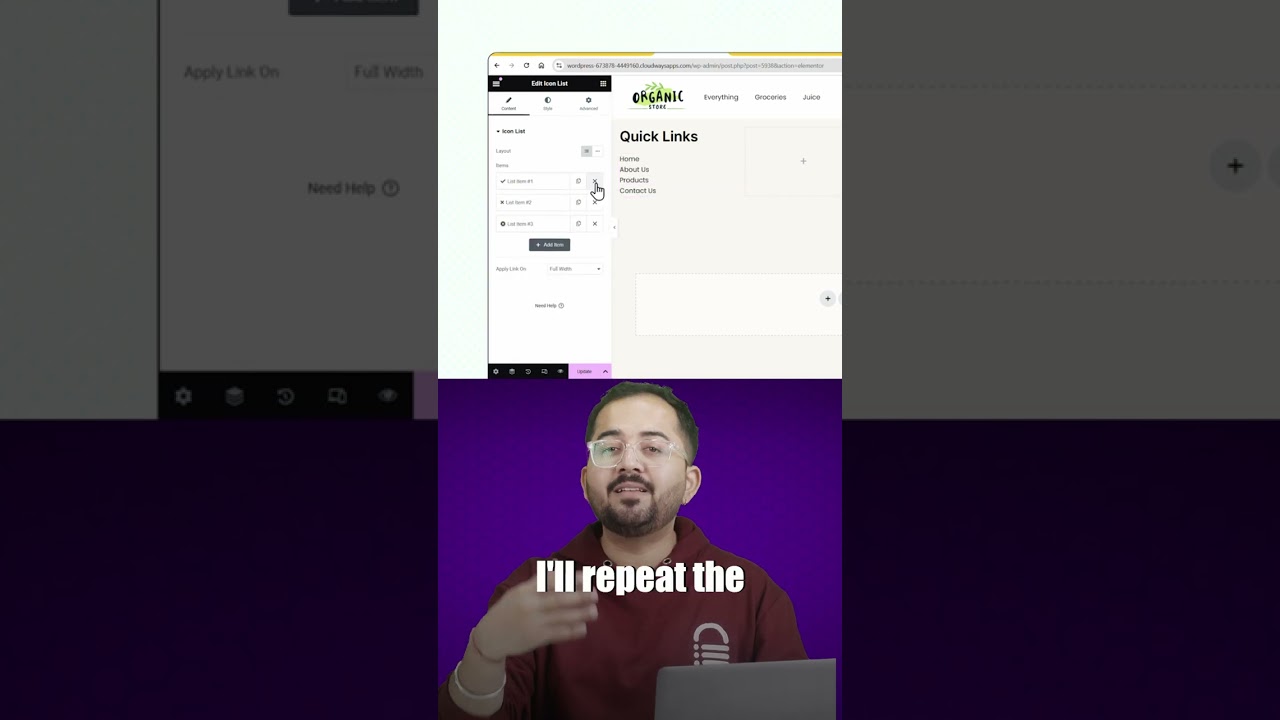
- Heading: For titles like “Quick Links” or “Contact Us.”
- Form: (From JetPlugins or Elementor Pro Forms) To embed an email signup form directly in the footer.
Step 5: Styling and Customization
Click on any widget, section, or column to access its styling options. This is where you ensure brand consistency.
- Colors: Apply your brand’s color palette to backgrounds, text, and buttons.
- Typography: Set the fonts for headings and text to match the rest of your site.
- Spacing: Use padding and margin controls to create breathing room between elements. Proper spacing is key to a professional, clean look.
- Borders: Add subtle separators between sections or columns.
Step 6: Setting Display Conditions and Publishing
This is a critical step. After designing your footer, click the “Publish” button. A pop-up will appear asking you to set display conditions.
To ensure your new custom footer appears on your entire site, click “Add Condition,” select “Entire Site,” and then save. This tells Elementor to replace your theme’s default footer with the one you just designed on all pages. Click “Save & Close.”
Advanced Tips for a Professional Footer Design
- Mobile Responsiveness is Non-Negotiable: Always switch to the mobile view in the Elementor editor (using the bottom panel icons) to see how your footer looks on smaller screens. You will likely need to adjust column stacking and font sizes. Use the responsive settings to ensure it looks perfect on every device.
- Keep it Clean and Uncluttered: A footer is not a dumping ground for every possible link. Prioritize the most important information and links. White space is your friend.
- Maintain Visual Hierarchy: Use heading tags (H4, H5) for widget titles and smaller body text for details. This helps users scan the content easily.
- Add Micro-Interactions: Use the hover effects in Elementor to make social icons change color or buttons slightly elevate when a user hovers over them. These small details significantly enhance the user experience.
- Consider a Sticky Footer: For very long pages, you can enable a “sticky” effect in the section’s advanced settings. This makes the footer remain fixed to the bottom of the viewport as the user scrolls, ensuring your CTAs and information are always accessible.
Troubleshooting Common Footer Issues
- Footer Not Showing Up: Double-check your display conditions in the Theme Builder. Ensure it’s set to “Entire Site” and that you’ve published the template.
- Overlap or Layout Issues: This is often due to conflicting CSS from your theme. Using a minimal theme like Hello Elementor almost always prevents this. You can also use Elementor’s built-in “Themes Style” settings to override default theme styles.
- Too Much Space Above/Below: Adjust the “Padding” values for your sections in the Style or Advanced tabs of the element settings.
Final Thoughts: Beyond the Default
Crafting a custom footer with Elementor is a straightforward process that yields immense rewards for your site’s professionalism and functionality. It moves your footer from a generic, ignored element to a powerful strategic tool that guides users, builds trust, and supports your business goals.
By leveraging the drag-and-drop power of Elementor Pro’s Theme Builder, you have complete creative control without the complexity of custom code. Invest time in this crucial part of your website—it’s the foundation upon which a positive final impression is built.


85 thoughts on “Create a Custom Footer in WordPress/Elementor 🚀”