


Related posts
Build a Report Generator AI Agent with NVIDIA Nemotron on OpenRouter
Introduction to AI Report Generation
In today's fast-paced digital world, businesses require efficient tools to streamline their report...
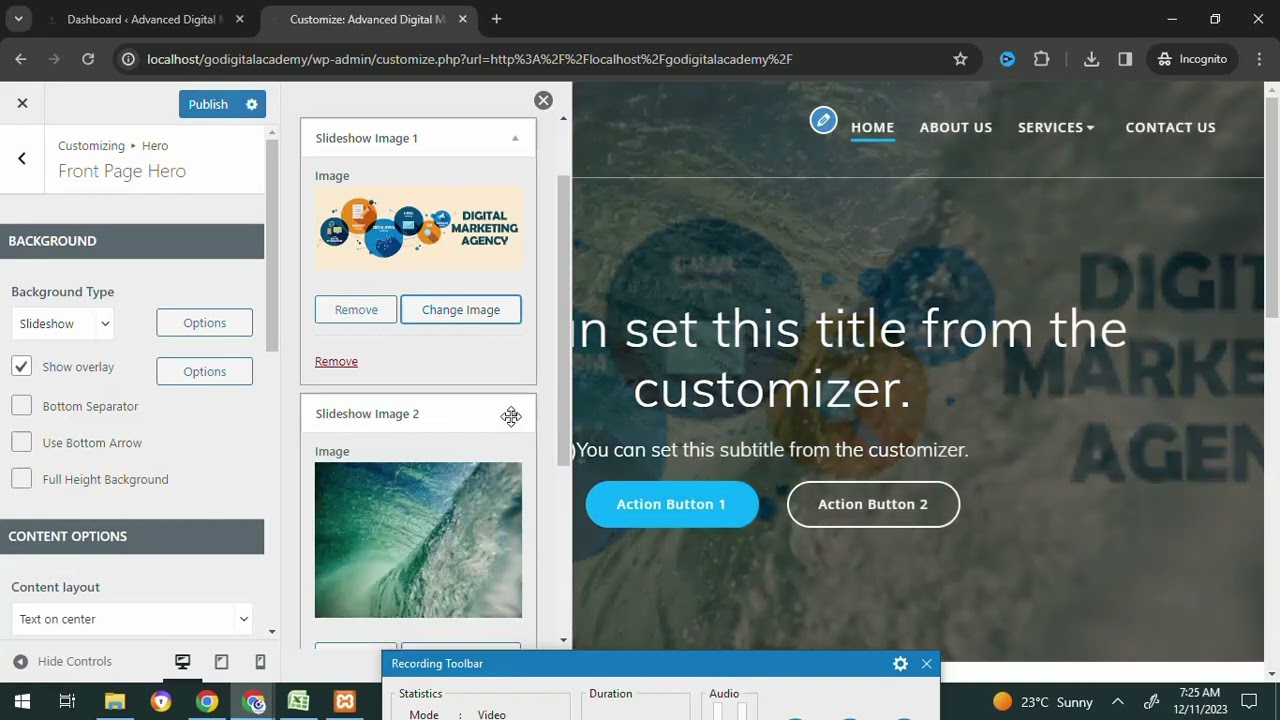
Word Press Day-3 How to add the Slideshow images and Top Bar and Editing the Home Page #godigital
Enhancing Your WordPress Site: Adding Slideshow Images, Top Bar, and Editing the Home Page
Creating a visually appealing and user-frien...

Oracle Shares Surge 36% on AI Demand, Adding $244B Market Value
In a world increasingly driven by technological innovation, Oracle's recent financial surge illustrates the profound impact of artifici...
Top 5 AI Plugins That Will Change WordPress in 2025! 🚀 #websitesetup #websitedomain
The Future of WordPress: Transformative AI Plugins to Watch in 2025
The digital landscape is evolving rapidly, and artificial intellige...
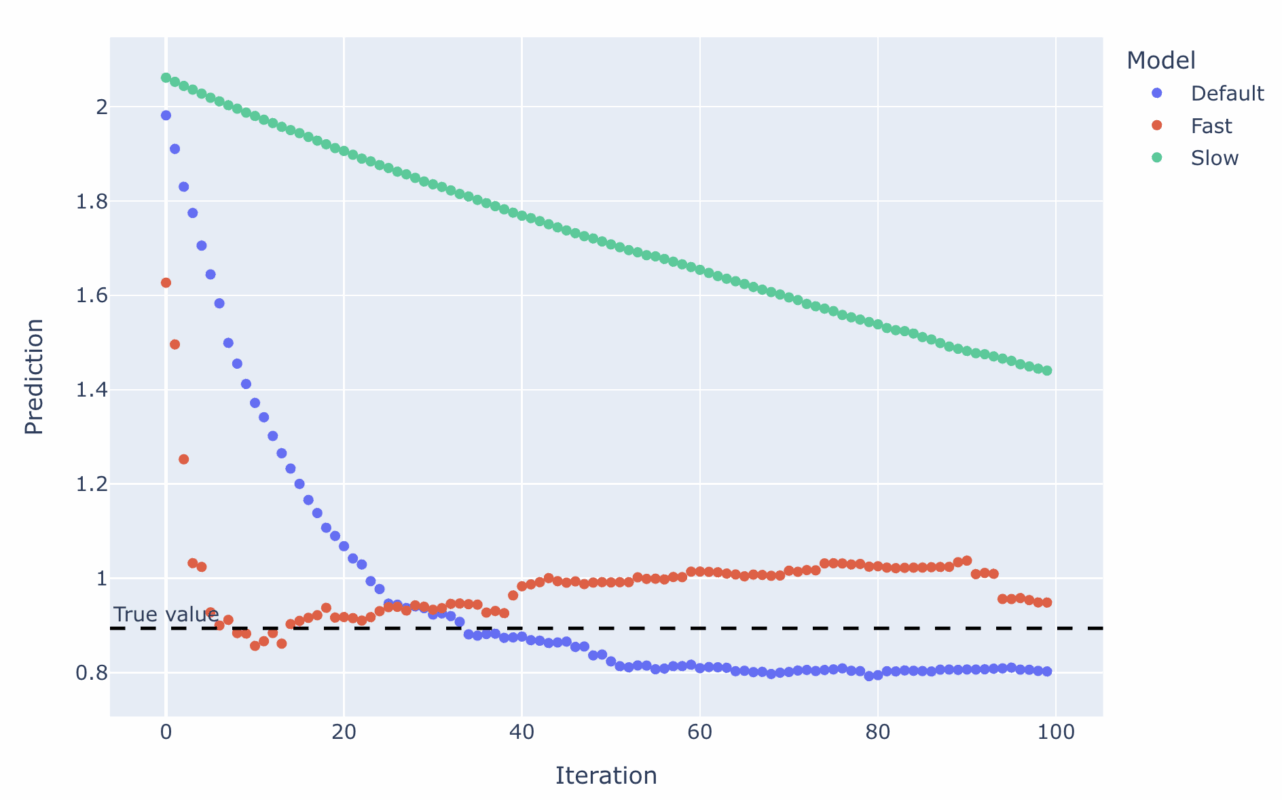
A Visual Guide to Tuning Gradient Boosted Trees
Understanding Gradient Boosted Trees
Gradient Boosted Trees (GBT) are a powerful machine learning technique commonly used for regressio...
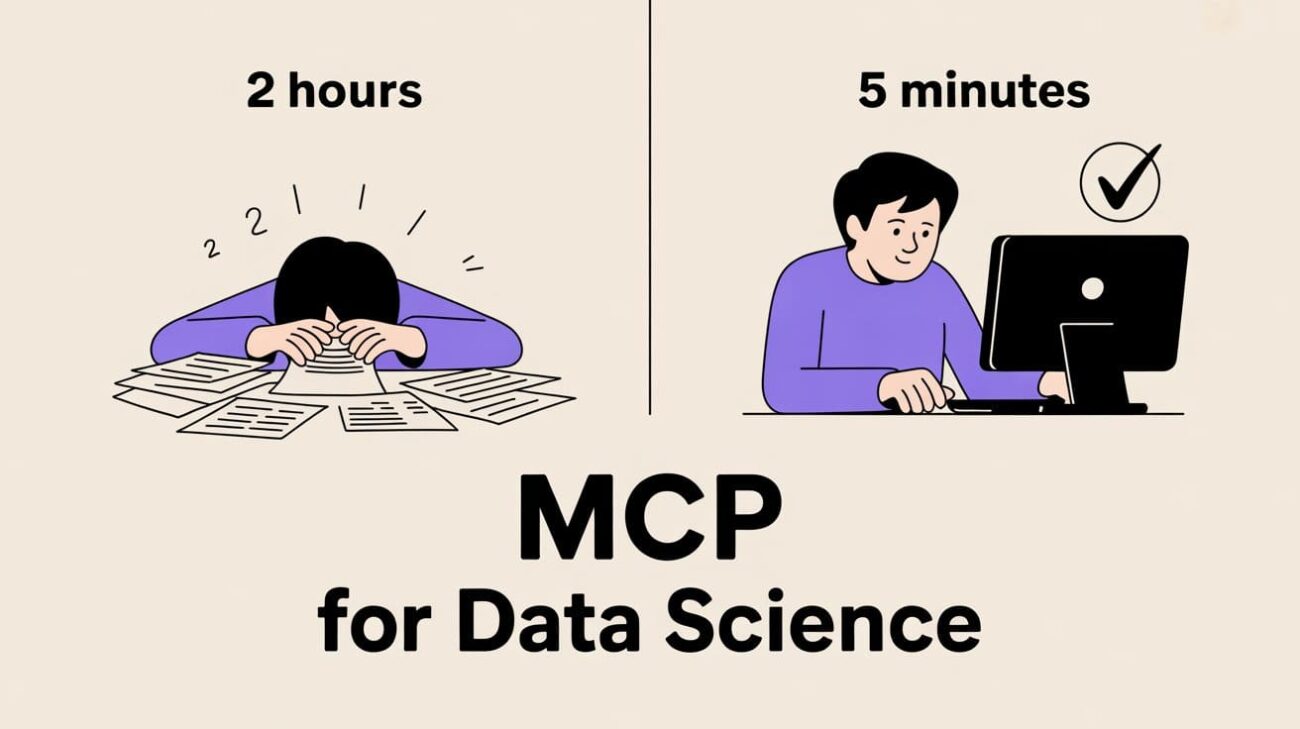
Here’s How I Built an MCP to Automate My Data Science Job
Introduction
In the fast-paced world of data science, automation is not just a luxury; it’s a necessity. For many professionals in the ...

🔐Miss Genève 🌩️🌝🦅 ⚕️📿Wix and Word Press. Ads, Websites Developer. Marketers, Marketing experts,
Understanding Web Development: Choosing Between Wix and WordPress
In today’s digital world, having a robust online presence is essentia...
AI Engine: o Melhor Plugin de Inteligência Artificial Grátis para WordPress – ChatGPT – OpenAI
A Comprehensive Guide to Enhancing Your WordPress Site with AI Technology
In today's digital landscape, integrating artificial intellig...

AT&T Scales Back Office Surveillance After Employee Frustration
In today’s corporate world, employee surveillance has become a hot topic, especially as companies seek to balance productivity with pri...

You Only Need 3 Things to Turn AI Experiments into AI Advantage
Introduction
In the rapidly evolving landscape of technology, artificial intelligence (AI) is transforming how businesses operate. Orga...

Gohighlevel’s mega menu feature breakdown in 3 minutes
Understanding GoHighLevel's Mega Menu Feature
Navigating a digital platform can often feel overwhelming, especially when faced with an ...

Trump’s 2025 Bill Delivers $40B Boost to Fossil Fuel Industry
Understanding Trump’s 2025 Bill: A $40 Billion Boost for the Fossil Fuel Industry
As the energy landscape evolves, the implications of ...