
Blog
Litespeed Cache WordPress Settings
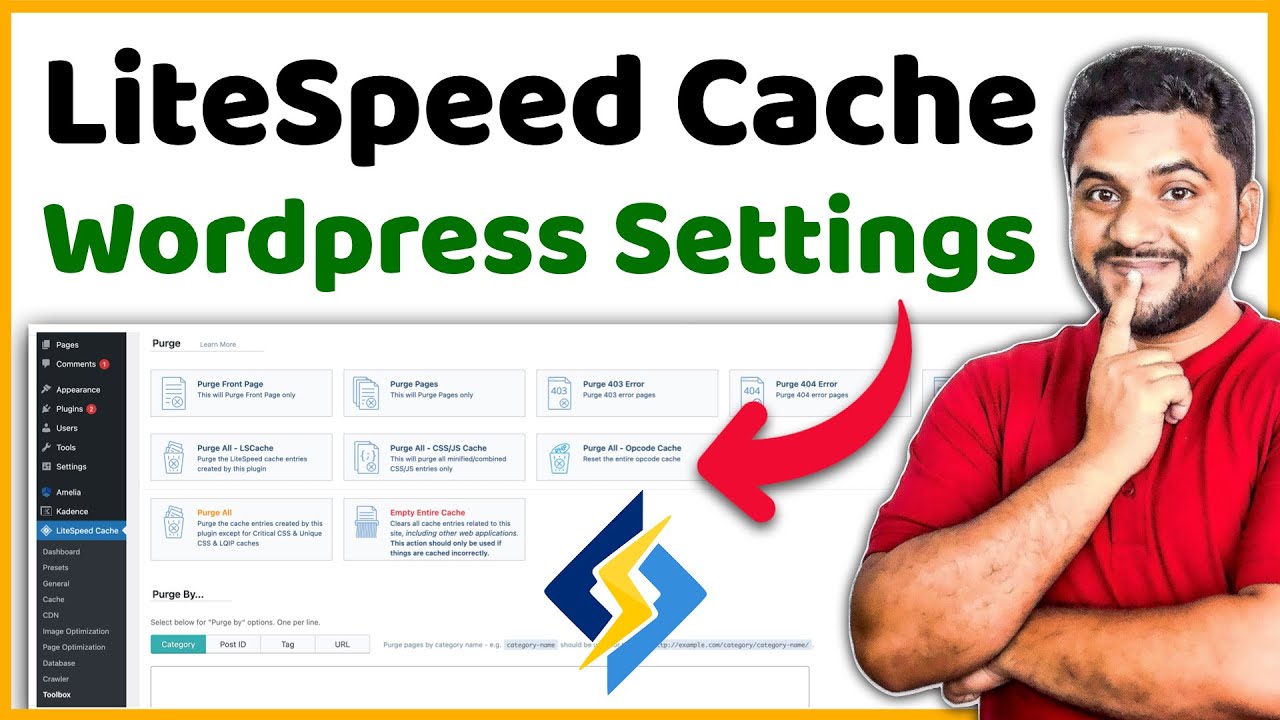
Understanding LiteSpeed Cache for WordPress: A Complete Guide
Efficient website performance is essential in today’s digital landscape. One of the most effective ways to enhance your WordPress site’s speed and performance is through caching. LiteSpeed Cache (LSCache) is one of the leading caching solutions for WordPress, designed to significantly improve website loading times while optimizing resources. This article delves into the settings and configurations of LiteSpeed Cache to help you maximize its potential.
What is LiteSpeed Cache?
LiteSpeed Cache is a powerful caching plugin for WordPress that integrates seamlessly with the LiteSpeed web server. It serves static content efficiently, which minimizes server load and enhances website speed. Unlike traditional caching methods, LiteSpeed Cache employs advanced techniques enabling websites to deliver pages faster without sacrificing quality.
Why Use LiteSpeed Cache?
-
Speed Improvement: By reducing page load times, your site becomes more responsive. This improvement in speed is crucial for user experience and SEO.
-
Resource Optimization: LiteSpeed Cache optimizes server resources, allowing your server to handle more requests without slowing down.
-
Compatibility: It works well with both dynamic and static content, ensuring that all aspects of your site are optimized.
- Advanced Features: With capabilities like image optimization, database optimization, and object caching, LSCache offers a comprehensive solution for site enhancement.
Installing LiteSpeed Cache
Before diving into settings, let’s ensure LiteSpeed Cache is installed:
- Login to WordPress Admin Panel: Access your website’s dashboard.
- Plugin Installation: Navigate to Plugins > Add New, then search for "LiteSpeed Cache." Click "Install Now," followed by "Activate" once the installation is complete.
Configuring LiteSpeed Cache Settings
After installation, it’s crucial to configure the plugin settings correctly to achieve the desired speed enhancements. Below, we cover the key settings within the LiteSpeed Cache plugin.
General Settings
-
Enable LiteSpeed Cache: Ensure the cache is enabled. This is typically the default setting but double-checking won’t hurt.
-
Cache Control: Adjust the lifespan of cached data to balance performance and resource use. The recommended setting is typically between 1 hour and 1 day.
- Purging Method: Set visual purging options based on your site’s dynamic elements. Options like "Purge All" or "Purge by URL" can be utilized when making changes.
Cache Settings
The Cache settings section allows you to optimize how cache behaves across your site.
-
Cache Logged-In Users: Enabling this option allows logged-in users to experience cached pages, improving their load times significantly.
-
Cache Mobile: Activating mobile caching ensures that users accessing your site from various devices receive an optimized version tailored to their screen size.
- Cache Browser: This feature serves cached pages based on browser cache variations. Enable this if you notice discrepancies when viewing your site in different browsers.
Object Cache
Object caching is vital for websites dealing with numerous database queries.
-
Enable Object Cache: Activating this feature allows for more efficient database response times.
- Configure TTL (Time to Live): Set the TTL to dictate how frequently the cached data should be refreshed. A standard range is between 1 hour and 24 hours, depending on site activity.
Image Optimization
Images are often the largest files on a website, slowing down loading times.
-
Image Optimization: LiteSpeed Cache provides options for optimizing images through various methods like lazy loading, WebP conversion, and image compression.
-
Lazy Load Images: This feature postpones the loading of images until they are in the viewport, enhancing initial load times. Enable this option for better performance.
- WebP Replacement: This setting allows images to be served in the WebP format, which is generally lighter than traditional formats like JPEG or PNG.
CSS & JavaScript Optimization
Improving the load times of CSS and JavaScript resources can drastically enhance user experience.
-
CSS Minification: Enable CSS minification to reduce file size by eliminating unnecessary spaces and comments. This makes stylesheets quicker to load.
-
JS Minification: Similar to CSS, minifying JavaScript files can lead to faster loading times.
- Combine CSS/JS Files: Combining files reduces the number of requests made to the server, further improving load times.
Database Optimization
Regularly cleaning up your database can significantly boost performance.
-
Database Cleanup: Use LiteSpeed’s cleanup features to remove old revisions, spam comments, and transient options that can bloat your database.
- Scheduled Cleanup: Set a schedule for automatic cleanups to ensure your database remains optimized without manual intervention.
Advanced Settings
Beyond basic optimization, LiteSpeed Cache offers advanced features for seasoned users.
-
CDN Support: If you’re using a Content Delivery Network (CDN), integrative settings allow for synchronization and enhanced performance across multiple geographical locations.
-
Custom Cache Rules: Advanced users can set custom cache rules for particular pages or post types, allowing granular control over what gets cached.
- Access-Control: Define rules for which user roles can bypass the cache, helpful in environments with varied user access levels.
Troubleshooting Common Issues
Even with the best technology, challenges can arise. Here are common issues users face with LiteSpeed Cache and how to troubleshoot them:
-
Content Not Updating: If changes aren’t reflected on the front end, ensure the cache is purged after updates. Also, consider checking your cache lifespan settings.
-
Conflict with Other Plugins: In some cases, conflicts with other performance-enhancing plugins can occur. Disable other caching solutions, clearing LiteSpeed Cache’s cache, and see if the issue resolves.
- Slow Admin Panel: If the admin panel is slow, consider disabling the caching for logged-in users temporarily to investigate the issue.
Conclusion
Optimizing your WordPress site with LiteSpeed Cache can dramatically enhance performance and user experience. By understanding and correctly configuring the various settings available within the plugin, you can create a faster, more efficient website. Remember that ongoing management and troubleshooting are necessary to maintain optimal performance, ensuring your website remains competitive in an increasingly digital world.
Maximize the benefits of LiteSpeed Cache to not only improve loading times but also enhance your website’s overall functionality. With diligence and attention to detail, your site can flourish in speed and performance.
