
Blog
Implementing OAuth 2.1 for MCP Servers with Scalekit: A Step-by-Step Coding Tutorial
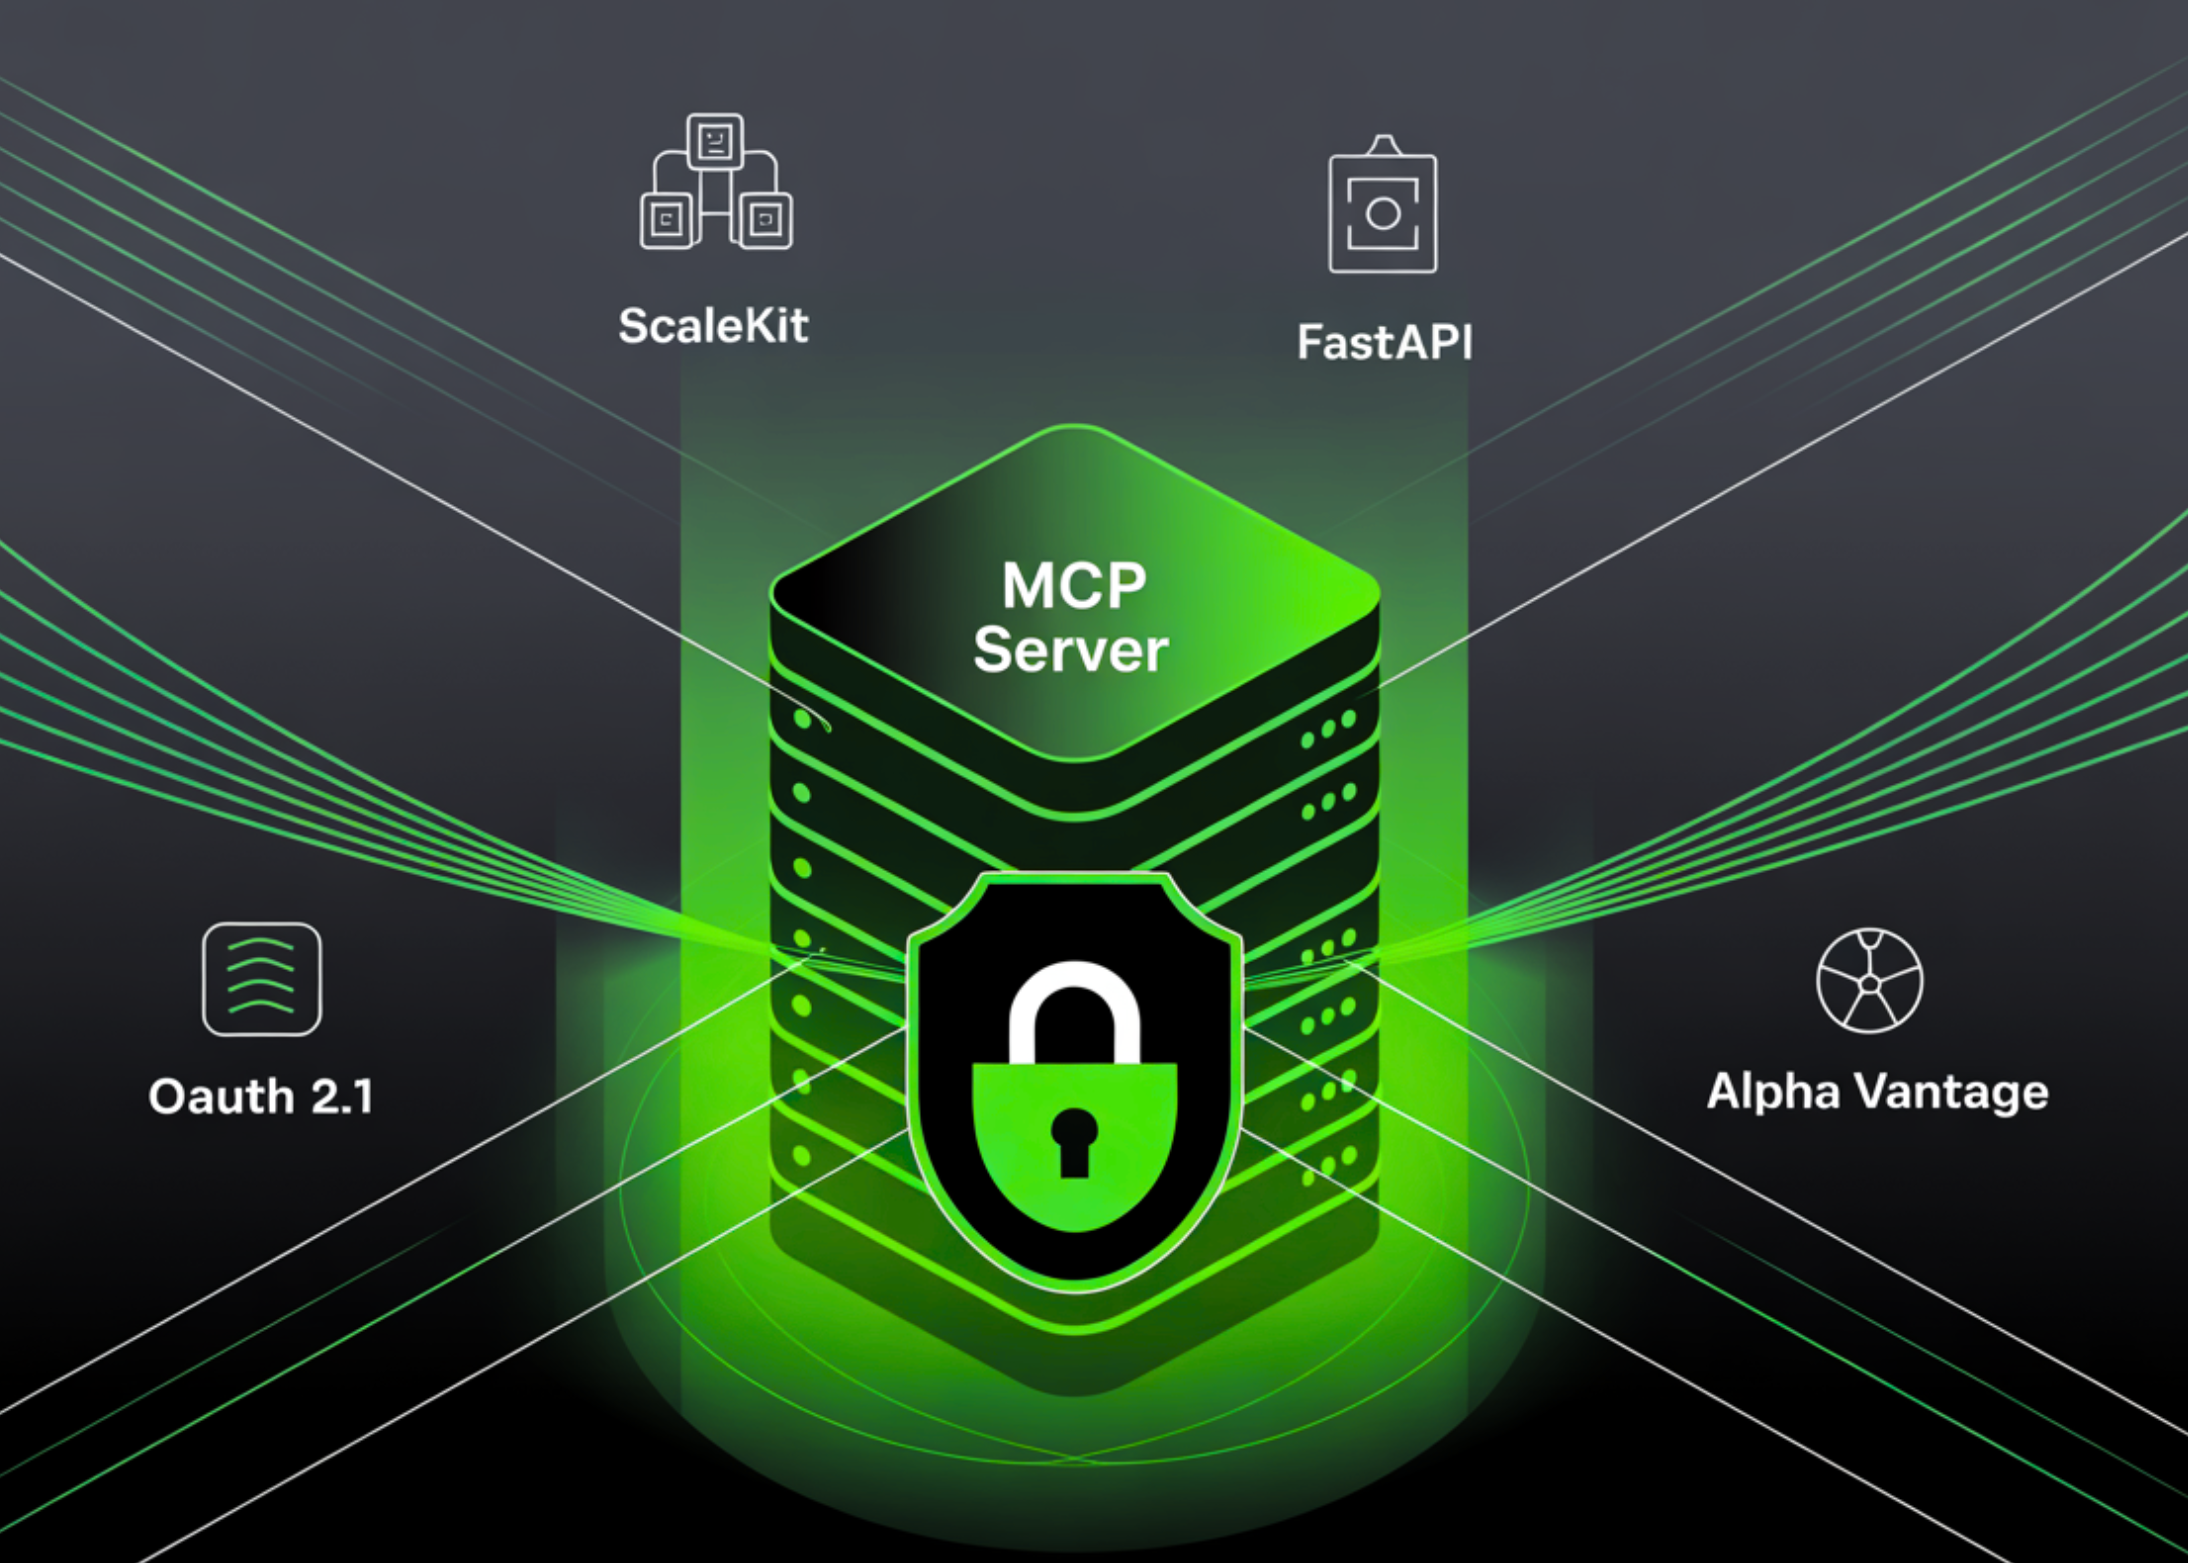
Introduction to OAuth 2.1 for MCP Servers
OAuth 2.1 is a significant evolution of the OAuth 2.0 framework, designed to streamline the authorization process while enhancing security features. When managing multiple cloud platforms and applications, such as MCP (Multi-Cloud Platform) servers, implementing OAuth 2.1 can improve efficiency and security. This tutorial offers a comprehensive step-by-step guide to integrating OAuth 2.1 into MCP servers using Scalekit, ensuring a smooth and secure user authentication experience.
Understanding OAuth 2.1 and Its Benefits
What is OAuth 2.1?
OAuth 2.1 consolidates the best practices from OAuth 2.0 and introduces key improvements, making it easier for developers to implement secure authorization methods. It provides a framework for token-based authentication, allowing users to grant third-party applications limited access to their resources without sharing passwords.
Advantages of OAuth 2.1
-
Simplification: By consolidating best practices and eliminating deprecated features, OAuth 2.1 simplifies the implementation process.
-
Enhanced Security: It promotes better security practices that reduce vulnerabilities associated with token handling.
- User Experience: Streamlined authorization flows lead to a more seamless user experience, enhancing engagement and retention.
Prerequisites for Implementing OAuth 2.1
Before diving into implementation, ensure you have the following prerequisites:
- Familiarity with JavaScript: Basic understanding is crucial for adapting Scalekit.
- Access to MCP Servers: Ensure you have the required administrative rights.
- Node.js Installed: Scalekit operates on Node.js; ensure your environment is properly configured.
Getting Started with Scalekit
Setting Up Your Environment
Start by installing Scalekit in your working directory. Open your terminal and run:
bash
npm install scalekit
Creating a New Project
After installation, create a new project directory:
bash
mkdir oauth2_project
cd oauth2_project
Then initialize the project:
bash
npm init -y
This command creates a package.json file to manage dependencies.
Implementing OAuth 2.1
Step 1: Configure Your OAuth Application
You need to register your application with the OAuth provider (e.g., Google, Facebook). Obtain your client ID and client secret, which are essential for authentication.
Step 2: Setting Up Scalekit
Next, import Scalekit in your application:
javascript
const Scalekit = require(‘scalekit’);
Create an instance of Scalekit, passing your client ID and secret:
javascript
const scalekit = new Scalekit({
clientId: ‘YOUR_CLIENT_ID’,
clientSecret: ‘YOUR_CLIENT_SECRET’,
redirectUri: ‘YOUR_REDIRECT_URI’,
});
Step 3: Creating the Authorization URL
Generate the authorization URL to redirect users for login:
javascript
const authUrl = scalekit.getAuthorizationUrl({
scope: [‘profile’, ’email’], // Adjust as per your needs
});
Step 4: Redirecting Users to Authorization
Direct users to the generated URL for authentication:
javascript
app.get(‘/login’, (req, res) => {
res.redirect(authUrl);
});
Step 5: Handling the Callback
Once users authenticate, they will be redirected back to your specified URI. You need to handle this callback to exchange the authorization code for an access token.
javascript
app.get(‘/callback’, async (req, res) => {
const { code } = req.query;
try {
const token = await scalekit.getToken(code);
// Store the token securely for future API calls
res.send(‘Authentication successful! You can now use your token.’);
} catch (error) {
res.status(500).send(‘Authentication failed!’);
}
});
Testing Your Implementation
Step 6: Making Authenticated Requests
With the access token securely stored, you can now make API calls on behalf of the authenticated user. Use the token in the authorization header:
javascript
const axios = require(‘axios’);
async function fetchUserData(token) {
try {
const response = await axios.get(‘https://api.example.com/user‘, {
headers: {
Authorization: Bearer ${token},
},
});
console.log(response.data);
} catch (error) {
console.error(‘Failed to fetch user data’, error);
}
}
Step 7: Logging Out Users
Ensure your application has a logout mechanism that revokes the access token:
javascript
app.get(‘/logout’, async (req, res) => {
const { token } = req.session; // Assuming you’re using sessions
await scalekit.revokeToken(token);
req.session = null; // Clear the session
res.send(‘Successfully logged out.’);
});
Testing and Debugging
After implementing OAuth 2.1, thorough testing is crucial. Use tools like Postman to simulate authentication flows and inspect the access tokens. Debugging is essential in discovering potential issues that can compromise security or user experience.
Conclusion
Successfully implementing OAuth 2.1 for MCP servers using Scalekit significantly enhances your application’s security and user experience. As security threats evolve, adopting modern authentication protocols is not only best practice but also essential for maintaining user trust. Always stay updated with the latest developments in OAuth and regularly review your implementation to ensure compliance with security standards.
By following this guide, you’ve taken a significant step towards secure and efficient user authentication. Monitor your application and continuously improve your OAuth implementation for the best user experience.
