
Blog
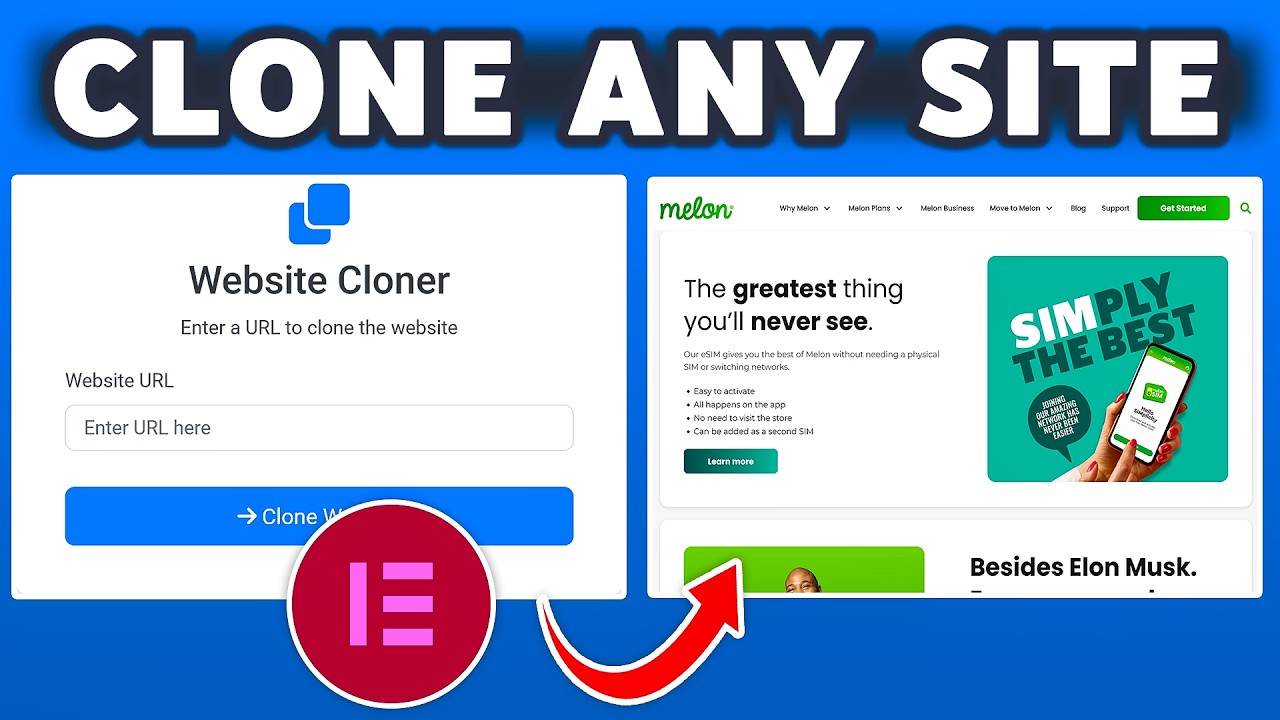
How to Clone Any Website in WordPress 🔷
Creating a replica of an existing website within the WordPress ecosystem is a powerful technique used by developers, designers, and businesses for a multitude of legitimate reasons. Whether you’re looking to rebuild a client’s old site, test a new design concept, or create a staging environment, understanding this process is an invaluable skill. This guide will walk you through the ethical considerations and the precise, step-by-step methods to accurately duplicate any website using WordPress.
Understanding the "Why": Legitimate Reasons for Website Cloning
Before diving into the technical how-to, it’s crucial to address the elephant in the room: ethics and legality. Cloning a website with the intent to plagiarize content, mislead users, or infringe on intellectual property is strictly illegal and unethical. The techniques outlined here are intended for legitimate purposes, such as:
- Redesigning an Existing Site: A developer can clone a client’s live site to a local or staging server. This allows for a complete redesign and testing of the new version without affecting the original site’s visibility or performance.
- Creating a Learning Tool: Web design students often clone well-designed sites to understand their structure, coding practices, and user experience flow. This is a time-honored method for honing one’s craft.
- Building a Staging Environment: Making direct changes to a live website is risky. Cloning it to a private staging area allows for safe testing of new plugins, themes, and code updates before deploying them to the public.
- Migrating a Non-WordPress Site: If you have a site built on another platform (e.g., HTML, Joomla, Shopify) and want to move it to WordPress, the cloning process is often the first step in a full migration.
Always ensure you have explicit permission from the website owner if you are cloning a site that is not your own.
The Two Primary Methods: Manual vs. Plugin-Based Cloning
There are two main pathways to achieve a website clone: a manual approach, which offers more control, and a plugin-based approach, which prioritizes simplicity and speed. The best method for you depends on your technical comfort level and the specific needs of the project.
Method 1: The Comprehensive Manual Migration
This method involves manually moving all your website’s files and database. It’s the most reliable method for complex sites and gives you a deeper understanding of how WordPress works under the hood.
Step 1: Export the Source Website’s Database
Every WordPress site is powered by a database (usually MySQL) that stores all your content, settings, and user information. To clone the site, you first need to export this database.
- Access your hosting control panel (like cPanel) and open phpMyAdmin.
- Select the database for your source website.
- Click the Export tab. Choose the Quick export method and the SQL format, then click Go. This will download a
.sqlfile to your computer.
Step 2: Download All Website Files via FTP
The database contains the content, but the files contain the theme, plugins, uploads (images, PDFs, etc.), and the core WordPress code.
- Connect to your source website’s server using an FTP client like FileZilla or Cyberduck.
- Navigate to the root directory (often
public_htmlor the name of your site). - Download all files and folders to a new directory on your local machine. This may take some time if your site has many uploads.
Step 3: Create a New Database for the Clone
Now, you need a destination for your data. On your new server (or local server environment like Local by Flywheel or XAMPP), create a fresh, empty database. Note down the database name, username, password, and host (usually localhost).
Step 4: Import the Database into the New Server
- Access phpMyAdmin on your new server.
- Select the new database you just created.
- Click the Import tab.
- Click Choose File, select the
.sqlfile you exported earlier, and click Go.
Step 5: Upload the Website Files to the New Server
Using your FTP client, connect to your new server and upload all the files you downloaded from the source site into the root directory of your new hosting account.
Step 6: Update the Site URL and Home Settings
This is the most critical step. Your cloned site’s database still contains references to the old site’s address (e.g., http://oldsite.com). You must update these to the new address (e.g., http://staging.newsite.com or http://localhost/newsite).
- In phpMyAdmin on your new server, select your imported database.
- Find the
wp_optionstable (the prefix may be different if you changed it, e.g.,wp123_options). - Locate the
siteurlandhomerows and change theiroption_valueto your new site’s URL. - For a more thorough search-and-replace of all links in the database, you can use a tool like Interconnect IT’s Database Search and Replace Script. This safely updates URLs embedded in your posts and pages.
Step 7: Final Configuration and Testing
After completing these steps, visit your new site’s URL. You should see your cloned website. You will likely need to log in using the source site’s admin credentials. Finally, check your permalinks settings (Settings > Permalinks) and save them to refresh your rewrite rules.
Method 2: The Streamlined Plugin Approach
For those who prefer a less technical process, several excellent plugins can automate almost the entire cloning and migration process. They handle the database search-and-replace operation seamlessly.
Choosing a Migration Plugin
Some of the most trusted plugins for this task include:
- All-in-One WP Migration: Extremely user-friendly with a drag-and-drop interface.
- Duplicator: Offers great control and is a favorite among developers for its reliability.
- WPvivid Backup & Migration: A robust option that combines cloning with backup functionality.
A Step-by-Step Guide Using Duplicator:
- On the Source Site: Install and activate the Duplicator plugin. Create a new "package." The plugin will scan your site and then build a package containing an installer script and an archive file (your site’s files and database). Download both files to your computer.
- On the Destination Server: Create a new, empty database. Upload the two Duplicator files you downloaded to the root directory of your new server (via FTP).
- Run the Installer: Visit
http://yournewsite.com/installer.phpin your browser. This will launch the Duplicator setup wizard. - Follow the Steps: The wizard will guide you through the process. You will be asked to input the details of the new database you created. The plugin will then unpack the archive and automatically perform the necessary search-and-replace operations on the database.
- Finalize: The installer will prompt you to update the new site’s URL, title, and admin login credentials. Once completed, it will ask you to clean up the installation files for security.
Essential Post-Cloning Checklist
After successfully cloning your website, whether manually or with a plugin, your work isn’t quite done. Run through this checklist to ensure everything is functioning perfectly.
- Test All Links: Navigate through your site and click on internal links, buttons, and menus to ensure they point to the correct (new) location.
- Check Media Library: Verify that all images, videos, and documents have been transferred correctly and display properly.
- Test Forms: If your site has contact forms, inquiry forms, or any other type of form, submit a test entry to ensure they are sending data to the correct email address and storing submissions properly.
- Review Permalinks: As mentioned, a quick visit to Settings > Permalinks to simply click "Save Changes" can resolve many 404 error issues by flushing the rewrite rules.
- Update DNS if Necessary: If your clone is meant to become the new live site, you will need to update your domain’s nameservers or A record to point to the new server’s IP address. This is the final step in going live.
Conclusion: Empowering Your WordPress Workflow
Cloning a website in WordPress is not a mysterious black art; it’s a systematic process of transferring files and data. By mastering both the manual and plugin-assisted methods, you equip yourself with a flexible skill that can dramatically improve your workflow. You can experiment fearlessly, redesign confidently, and migrate seamlessly. Remember to always use this power responsibly, respecting intellectual property and focusing on creating unique, valuable experiences for your own audience. Now that you have the blueprint, you’re ready to build, test, and iterate like a true WordPress professional.
