
Blog
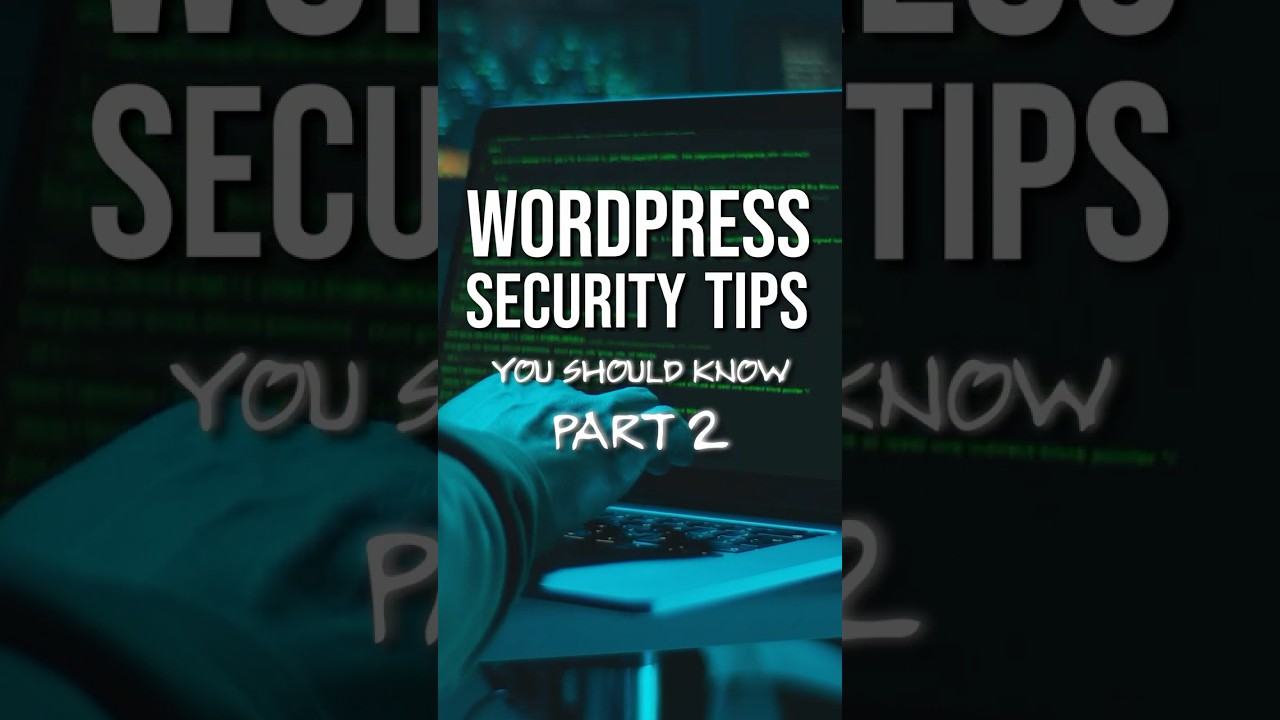
Add 2FA In WordPress With Wordfence | #wordpress #2fa #2factorauthentication #wordpresssecurity
In today’s digital landscape, a strong password alone is no longer a sufficient barrier against sophisticated cyber threats. For website owners, particularly those using the world’s most popular content management system, fortifying your login procedure is not just a recommendation—it’s a necessity. One of the most effective ways to achieve this is by implementing Two-Factor Authentication, or 2FA.
This powerful security measure adds a critical layer of defense, ensuring that even if a malicious actor compromises your password, they cannot gain entry without a second, time-sensitive verification code. For WordPress users, one of the most trusted and comprehensive tools to enable this is the Wordfence Security plugin. This guide will provide a detailed, step-by-step walkthrough on how to seamlessly integrate 2FA into your WordPress site using Wordfence, significantly enhancing your security posture.
Understanding the Critical Role of Two-Factor Authentication
Before diving into the technical setup, it’s essential to understand why 2FA is a cornerstone of modern website security.
Two-Factor Authentication is a security process in which users provide two different authentication factors to verify their identity. These factors typically fall into three categories:
- Something You Know: This is your standard password or PIN.
- Something You Have: This is a physical object in your possession, such as your mobile phone that generates a time-based one-time password (TOTP) via an authenticator app, or a hardware security key.
- Something You Are: This refers to biometric data like a fingerprint or facial recognition.
By requiring a factor from two different categories, 2FA creates a formidable obstacle for attackers. A stolen password becomes useless without access to the second factor, which is incredibly difficult for a remote hacker to obtain.
Why Wordfence is the Ideal Choice for WordPress 2FA
While several plugins offer 2FA functionality, Wordfence stands out as a premier choice. It is not merely a 2FA add-on; it is a full-featured, enterprise-grade security suite designed specifically for WordPress. Its integrated approach to security means that enabling 2FA is just one part of a robust defense strategy that includes a web application firewall, malware scanner, live traffic monitoring, and country blocking.
Choosing Wordfence for your 2FA needs means you are implementing a solution that is:
- Deeply Integrated: It works seamlessly with the WordPress core and user management system.
- Highly Respected: Developed by a team of dedicated security experts with a proven track record.
- Comprehensive: It offers multiple 2FA methods to suit different user preferences and needs.
- User-Friendly: It provides clear setup wizards and recovery options to prevent users from being locked out.
A Step-by-Step Guide to Enabling 2FA with Wordfence
Implementing this crucial security feature is a straightforward process. Follow these steps to secure your WordPress login.
Step 1: Install and Activate the Wordfence Plugin
If you haven’t already, the first step is to install Wordfence. Navigate to your WordPress admin dashboard, go to Plugins > Add New, and search for “Wordfence.” Click Install Now and then Activate.
Upon activation, you will notice a new “Wordfence” menu item in your dashboard sidebar. The plugin will begin an initial scan of your site, but our immediate focus is on configuring login security.
Step 2: Navigate to the Login Security Settings
Within your WordPress admin area, click on Wordfence in the left-hand menu. From the Wordfence dashboard, select Login Security from the top navigation menu. This is the central hub for all 2FA and related settings.
Here, you will see options to configure Two-Factor Authentication for all users with a role of Contributor or above. You can also set up CAPTCHA to further protect your login and registration forms.
Step 3: Activate and Configure Two-Factor Authentication
On the Login Security page, locate the Settings section. You will find the option to Enable Two-Factor Authentication. Check this box to activate the feature site-wide.
Wordfence allows for granular control. You can:
- Require 2FA for all roles: You can choose to make 2FA mandatory for administrators only or extend it to other user roles like editors, authors, and contributors. For maximum security, it is advisable to require it for all users with login privileges.
- Set a grace period: To avoid immediately locking out users, you can set a grace period (e.g., 7, 14, or 30 days). This gives users time to configure their 2FA method at their next login before it becomes mandatory.
- Allow remembering a device: This feature lets users bypass 2FA on their trusted personal devices for 30 days, improving usability without significantly compromising security.
Configure these settings according to your website’s needs and user base.
Step 4: Configure Your Personal Two-Factor Authentication
Once the feature is activated, each user must individually set up 2FA on their own account. As an administrator, you should lead by example.
- While still in the Wordfence > Login Security area, look for the section titled Two-Factor Authentication.
- Click the Activate button. A setup window will appear, displaying a QR code.
- On your mobile device, open your preferred authenticator app. Popular options include Google Authenticator, Authy, Microsoft Authenticator, and LastPass Authenticator.
- In your authenticator app, tap the option to add a new account (usually a “+” symbol) and choose Scan a QR Code. Use your phone’s camera to scan the QR code displayed on your screen.
- Once scanned, the app will immediately begin generating a six-digit code that refreshes every 30 seconds.
- To finalize the setup, enter the current code from your authenticator app into the field provided on the WordPress screen and click Activate.
Your account is now secured with 2FA. The next time you log in, you will be prompted to enter a code from your authenticator app after providing your correct password.
Beyond the App: Exploring Additional 2FA Methods in Wordfence
Wordfence understands that users have different preferences and access needs. Beyond authenticator apps, it supports other secure methods:
- Phone Verification via SMS: Users can opt to receive their one-time codes via text message. While convenient, it is generally considered less secure than authenticator apps due to risks like SIM swapping attacks.
- Backup Codes: During the 2FA setup process, Wordfence will generate a list of one-time-use backup codes. Users must download and store these codes in a secure place, such as a password manager. These codes are a vital lifeline if a user loses access to their phone or authenticator app.
It is highly recommended to set up at least one backup method to ensure you don’t get locked out of your own website.
Best Practices for Managing WordPress 2FA
Successfully implementing 2FA involves more than just flipping a switch. Adopting these best practices will ensure a smooth and secure rollout.
- Communicate with Your Users: If you manage a multi-user site, inform your team about the new security requirement well in advance. Explain what 2FA is, why it’s important, and provide them with clear instructions or a link to this guide.
- Mandate the Use of Authenticator Apps: Gently encourage users to use an authenticator app over SMS due to its superior security. Authy is an excellent choice as it offers cloud backup, preventing lockouts if a device is lost.
- Secure Your Backup Codes: Treat your backup codes with the same level of secrecy as your password. Do not store them in an easily accessible place like an unencrypted text file on your desktop. A password manager is the ideal location.
- Utilize the Grace Period: The grace period is your best friend for a hassle-free deployment. Use it to allow users to adapt to the new process without pressure.
Fortifying Your Entire WordPress Security Strategy
While enabling Two-Factor Authentication with Wordfence is a monumental leap forward in securing your login page, it should be part of a broader, layered security strategy. Wordfence itself provides many of these layers:
- Web Application Firewall (WAF): The Wordfence firewall blocks malicious traffic before it can even reach your site, stopping common exploits and attacks.
- Malware Scanner: The plugin’s core scanner regularly checks your website’s files, themes, and plugins for malware, bad URLs, and other security issues.
- Real-Time Threat Defense: The Wordfence Threat Defense Feed provides real-time firewall rules and malware signatures, ensuring your site is protected against the newest threats as they emerge.
By combining the powerful, proactive features of the Wordfence firewall with the reactive strength of 2FA on your login, you create a security ecosystem that is both resilient and robust.
In conclusion, the effort required to set up Two-Factor Authentication is minimal, especially when using a tool as intuitive as Wordfence. However, the security payoff is immense. In an era where data breaches and unauthorized access are commonplace, taking this decisive step to protect your WordPress website is one of the most impactful actions you can take. Don’t wait for a security incident to occur—harden your defenses today and enjoy the peace of mind that comes with knowing your digital presence is secure.

