
Blog
🚀 Figma to WordPress + Elementor – Full Website Revamp! 🔥
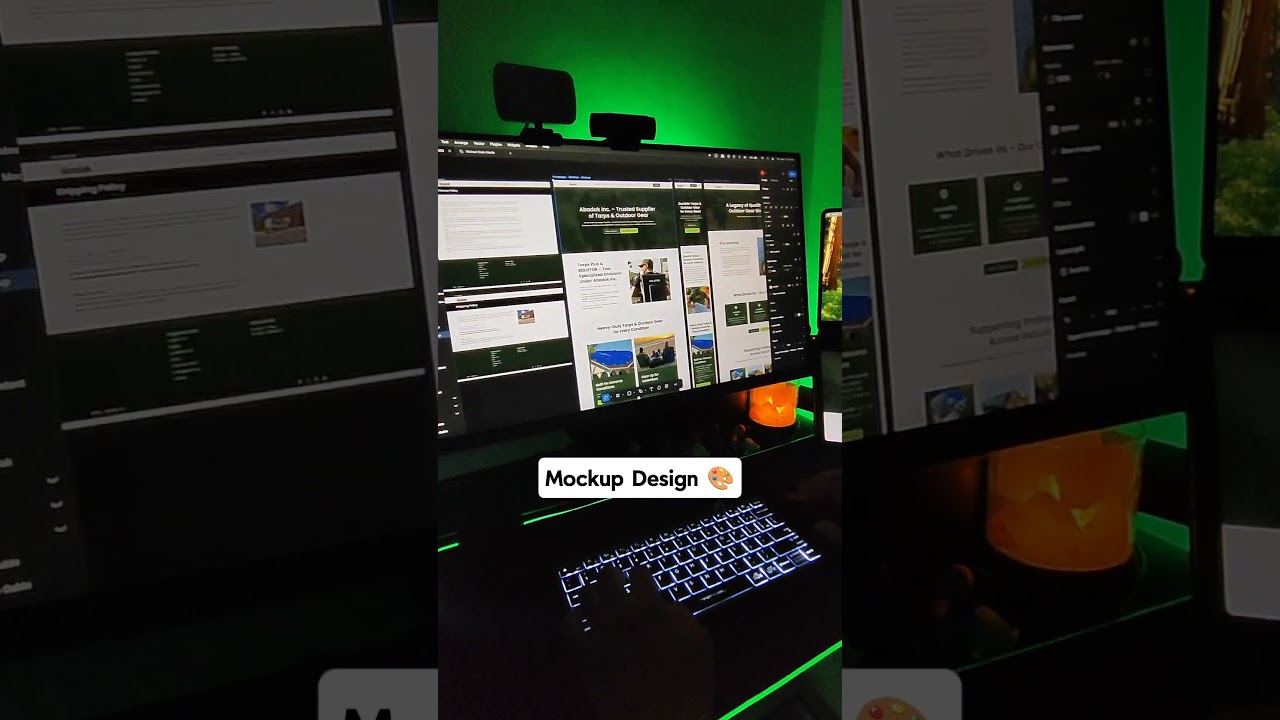
Crafting a visually stunning digital experience in Figma is an achievement. Translating that meticulous design into a fully functional, dynamic WordPress website is where the real magic happens. For designers and developers leveraging the power of Elementor, this process has become more intuitive and powerful than ever. This guide provides a comprehensive roadmap for converting your static Figma mockups into a living, breathing WordPress site using Elementor, ensuring pixel-perfect precision and professional results.
The Power of the Figma and WordPress Duo
Before we dive into the technical steps, it’s important to understand why this combination is so effective. Figma excels as a collaborative design environment, allowing for intricate prototyping, client feedback, and flawless UI/UX creation. WordPress, powered by the world’s most popular content management system, offers unparalleled flexibility and ease of use. Elementor bridges these two worlds as a visual page builder that empowers you to construct complex layouts without writing a single line of code, making it the perfect tool to bring your Figma visions to life.
Phase 1: Foundational Preparation in Figma
A successful build starts long before you open WordPress. Proper preparation in Figma sets the stage for a smooth and efficient development process.
Establishing a Structured Design System
A cohesive design system is your single source of truth. Ensure your Figma file is meticulously organized.
- Components & Styles: Utilize Figma’s features for Colors, Text Styles, and Effects. Define your primary and secondary color palettes with hex codes clearly labeled. Create consistent text styles for headings (H1, H2, H3, etc.), body text, and buttons. This not only ensures design consistency but also makes applying these styles in Elementor significantly easier.
- Auto Layout: Use Figma’s Auto Layout for buttons, cards, and navigation items. This helps you understand the spacing (padding and margin) between elements, which you will replicate using Elementor’s layout controls.
- Grids and Guides: Implement layout grids in your designs. Note the container widths, column counts, and gutters. Elementor allows you to set a custom container width and column gaps, so having this information handy is crucial for matching the design structure.
Preparing Assets for Export
A website is more than just code; it’s a collection of visual assets.
- Images: Ensure all photographs, illustrations, and complex graphics are exported in modern, optimized formats. WebP is ideal for superior compression and quality, but also have JPEG or PNG versions as fallbacks. Export at 2x resolution for Retina displays.
- Icons: If you’re using custom icons, export them as SVG files. SVG is scalable and will remain crisp at any size, plus it typically has a smaller file size. For icon sets, consider linking an Iconify plugin within Figma to simplify this process.
- Organized Exports: Create a dedicated folder on your computer to store all these exported assets. Logical naming (e.g.,
hero-image.webp,company-logo.svg) will save you time when uploading them to WordPress.
Phase 2: Setting the WordPress and Elementor Stage
With your design prepared, it’s time to configure the foundation within WordPress.
Installing and Activating Essential Plugins
Your WordPress installation needs two key components:
- Elementor Pro: While the free version of Elementor is powerful, the Pro version is essential for a professional revamp. It unlocks vital features like the Theme Builder, which allows you to create custom headers, footers, archive pages, and post templates that perfectly match your Figma design.
- A Lightweight Theme: Avoid bulky, multi-purpose themes that fight with Elementor for styling control. Opt for a minimal, lightweight theme like Hello Elementor, which is specifically designed to be a blank canvas for the page builder. This gives you complete freedom from unwanted default styles.
Configuring Global Settings and Site Identity
Before building pages, configure the global settings that will apply across your site.
- Site Identity: Navigate to Appearance > Customize > Site Identity to upload your favicon and logo.
- Elementor Global Settings: Within the Elementor editor, access the global settings (the gear icon). Here, you can set default typography and colors. Input the exact hex codes from your Figma design system for your Primary, Secondary, Text, and Accent colors. Define your global heading and body text fonts and sizes. This step is invaluable—it allows you to apply consistent styles site-wide with a single click, dramatically speeding up your workflow.
Phase 3: The Build – Translating Design to Functionality
This is the core of the process: constructing your pages element by element.
Mastering the Elementor Layout System
Elementor’s structure is based on Sections, Containers, and Columns. Think of your Figma design as a series of horizontal sections (rows). Within each section, you place containers (or columns in the legacy system) to hold your widgets.
- Container Width: Set the container width to match your Figma design (e.g., 1140px is a common standard). This can be configured globally in the Site Settings.
- Content Width: Within each section, you can choose the content width to be ‘Full Width’ or ‘Boxed’. A ‘Boxed’ layout will respect your container width, while a ‘Full Width’ section can be used for backgrounds that stretch edge-to-edge with the content remaining in a central container.
Building with Precision Using Elementor Widgets
Elementor’s widgets are the building blocks of your page. Here’s how to approach key components:
- Headers and Navigation: Use the Theme Builder to create a custom header. The ‘Header’ widget in Elementor Pro provides a robust way to build complex navigations with logos, menus, and buttons. Pay close attention to the spacing and typography you defined in Figma.
- Hero Section: This is often the most visually impactful part of a design. Use a combination of the Heading, Image, and Button widgets. To achieve layered effects, leverage the positioning controls (absolute and relative) within the Advanced tab or use a container with a background image and overlay color.
- Replicating Sections: For sections with repeated designs (e.g., service cards, team profiles), build one perfect instance. Then, simply right-click the parent container and select ‘Duplicate’ or ‘Save as a Template’. This ensures consistency and efficiency.
Advanced Styling for Pixel-Perfect Results
The ‘Advanced’ tab in every widget is your key to precision.
- Margin and Padding: This is how you control spacing. Use the values (in pixels, percentages, or other units) from your Figma design to position elements exactly where they need to be. Remember the CSS box model: padding is inside the element, margin is outside.
- Custom CSS: For ultra-specific styling tweaks that are difficult to achieve with the standard controls, the Custom CSS field is your best friend. A simple line of code can often achieve a precise effect.
Phase 4: Optimization and Launch
A beautiful website is useless if it’s slow or broken. Finalize your revamp with these critical steps.
Cross-Browser and Device Testing
Your design must work for every user. Thoroughly test your website across multiple browsers (Chrome, Firefox, Safari, Edge) and on various devices. Elementor has a built-in responsive mode, but always check on real devices if possible. Adjust padding, margins, and font sizes using Elementor’s responsive controls for tablet and mobile views to ensure everything looks perfect at every breakpoint.
Performance Optimization
A fast website improves user experience and SEO.
- Image Optimization: Before uploading, compress all your images. Use plugins like Imagify or ShortPixel to automate compression on your WordPress site.
- Caching: Install a caching plugin like WP Rocket or W3 Total Cache. This creates static versions of your pages, drastically reducing load times for returning visitors.
- Clean Code: While Elementor generates the code for you, ensure you are not leaving unused elements or templates on your site. A lean website is a fast website.
Final Checks and Going Live
Conduct a final pre-launch checklist: test all forms, check all links, proofread all content, and ensure your SEO meta tags are populated. Once you are confident everything is working perfectly, you can officially launch your fully revamped website.
By methodically following this process—from meticulous preparation in Figma to precise construction in Elementor—you can confidently transform any static design into a professional, high-performing WordPress website. This workflow empowers designers and developers to maintain creative control from the first pixel to the final publish.

