
Blog
The Math You Need to Pan and Tilt 360° Images
Understanding the Mathematics Behind 360° Imaging
Introduction to 360° Imaging
In the realm of photography and videography, 360° imaging is a cutting-edge technique that captures a comprehensive view of a scene. This immersive form of media allows users to pan and tilt, exploring every angle and detail. However, achieving this level of immersion involves a solid understanding of the underlying mathematics. Let’s delve into the essential math principles you need to master for effective panning and tilting of 360° images.
The Basics of 360° Photography
Before diving into the math, it’s crucial to grasp the fundamental concepts of 360° imaging. This technique typically employs specialized cameras or software to create images or videos that can be navigated in all directions. Unlike traditional photography, which is restricted to a fixed viewpoint, 360° images provide a panoramic perspective that enhances viewer engagement.
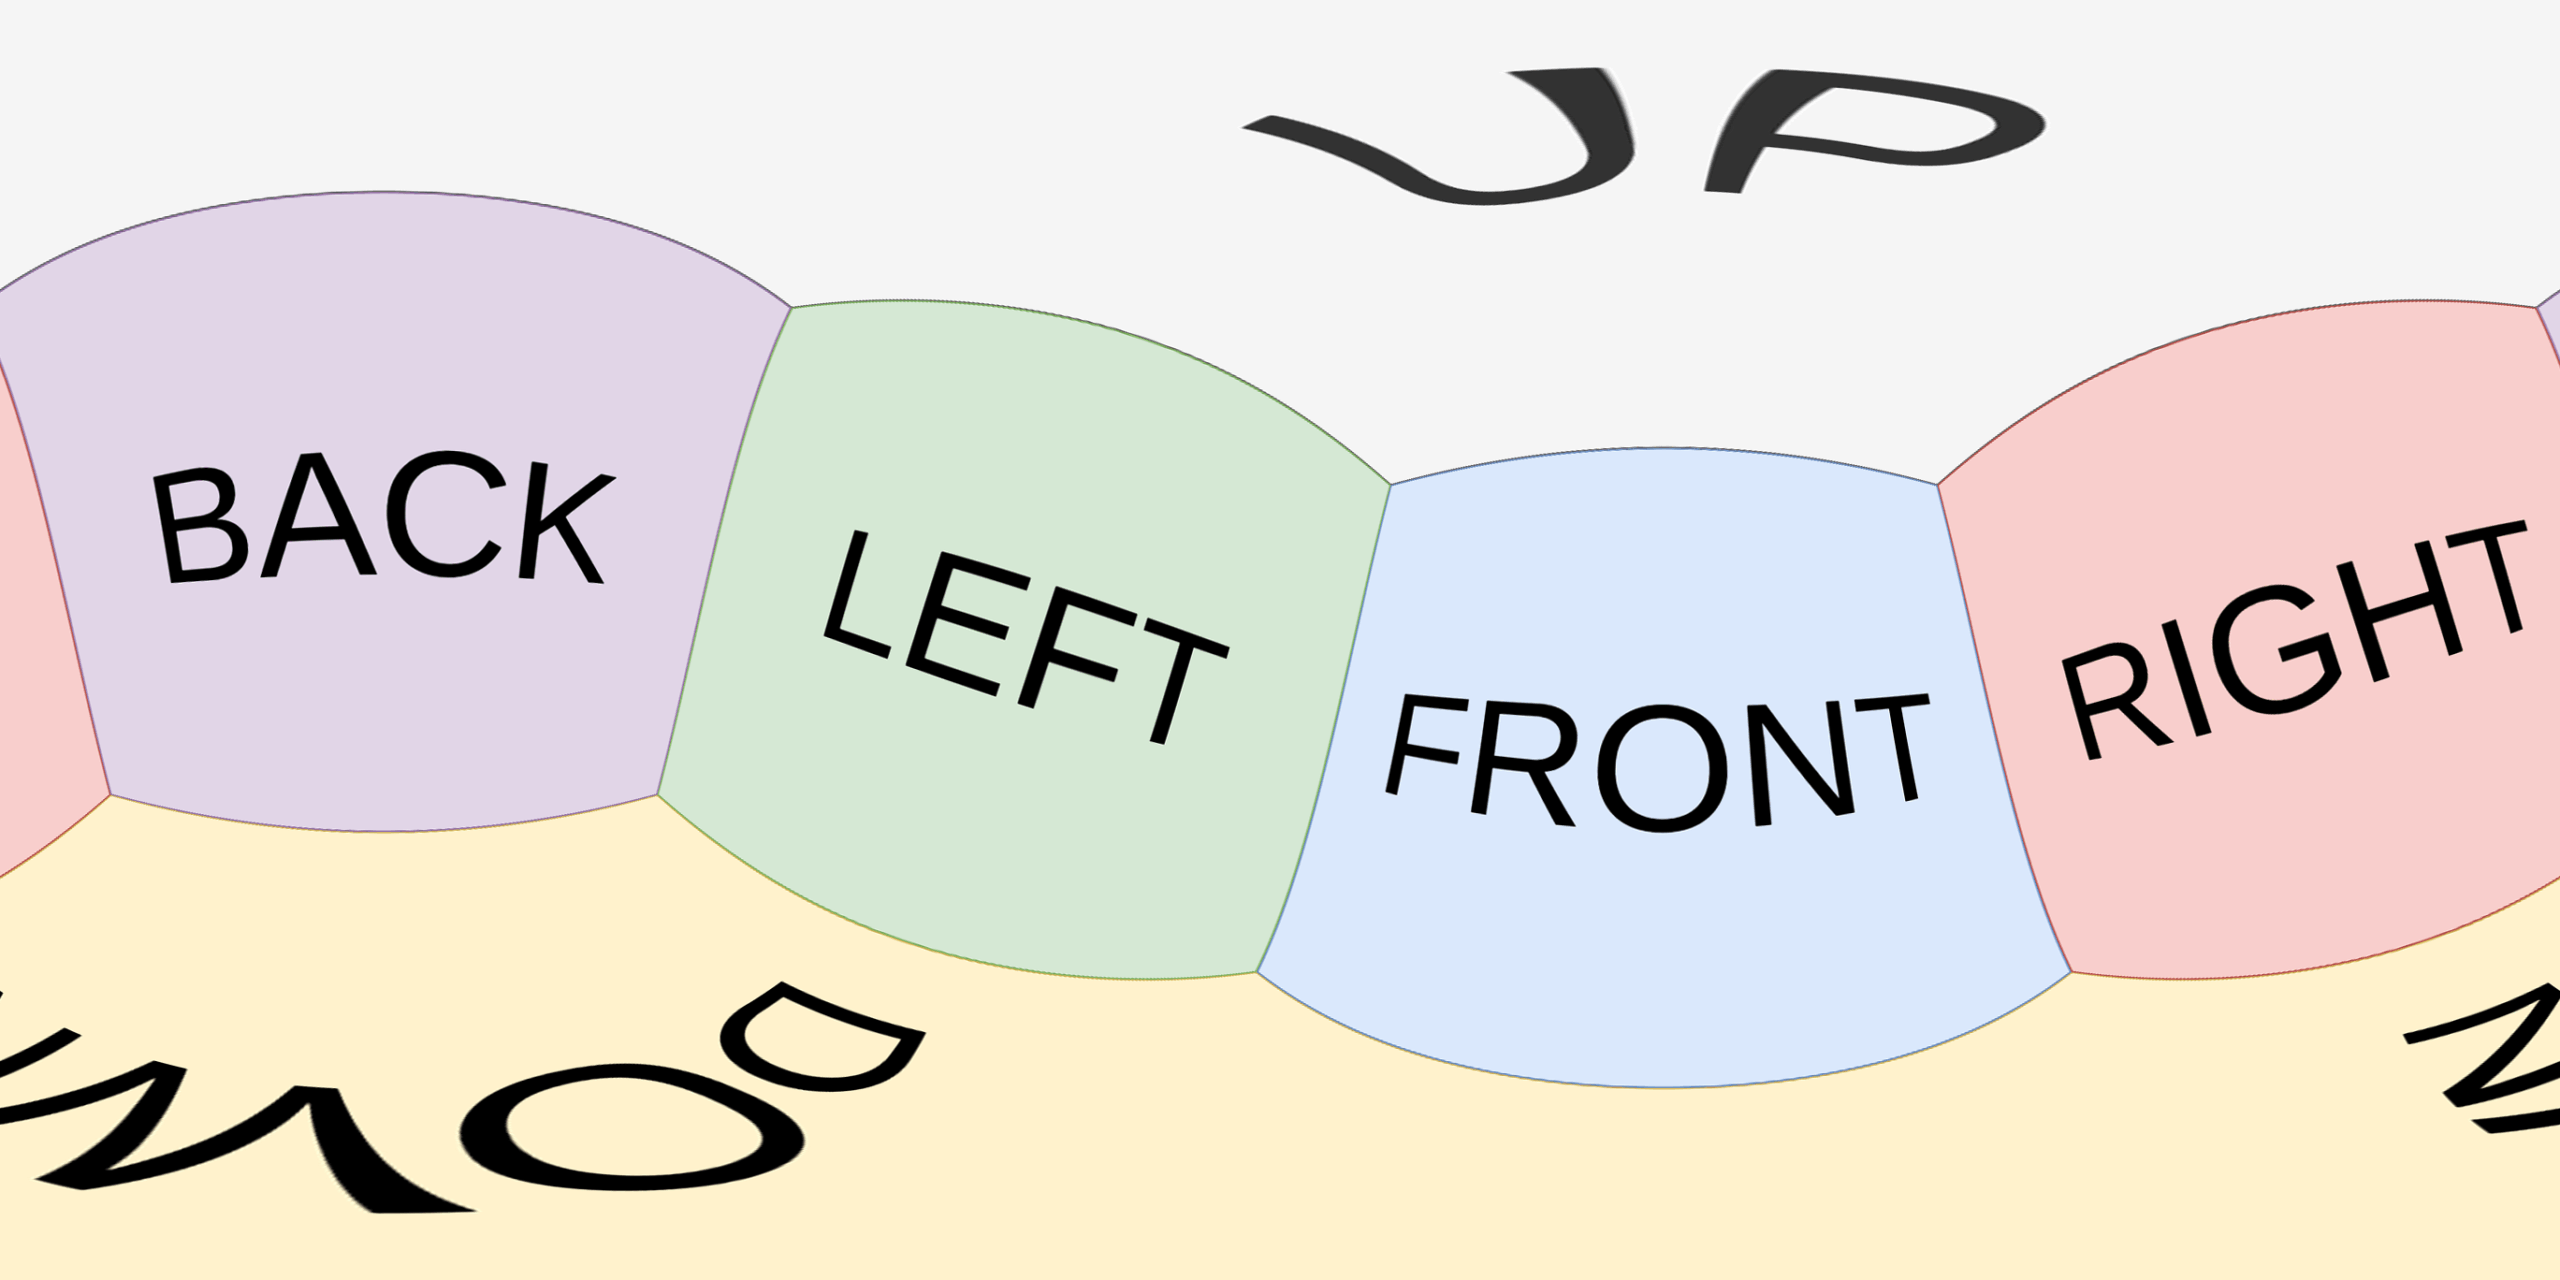
Coordinate Systems: The Foundation
To effectively manipulate 360° images, understanding coordinate systems is vital. Most 360° imaging techniques use spherical coordinates, which differ from the Cartesian coordinate system (x, y, z).
Spherical Coordinates Explained
In spherical coordinates:
- Radius (r): The distance from the center of the sphere to the point in question.
- Azimuth (θ): The angle measured from a reference direction, commonly the x-axis in the horizontal plane.
- Polar angle (φ): The angle measured from the vertical z-axis down towards the point.
This system allows for precise mapping of points on a sphere, making it ideal for creating 360° visuals.
Fundamental Math Concepts for Panning and Tilting
When panning and tilting in a 360° environment, several mathematical principles come into play:
1. Angular Measurement
Understanding angles is essential for accurate movement in a 360° space. Angles are typically measured in degrees or radians. Here’s a quick reference:
- Degrees: A full rotation is 360 degrees.
- Radians: A full rotation equates to (2\pi) radians.
2. Trigonometry in 360° Imaging
Trigonometry plays a crucial role in translating angular measurements into actual movements. The most relevant functions are sine, cosine, and tangent.
- Cosine: Useful for calculating horizontal distances when panning.
- Sine: Helps calculate vertical positions while tilting.
- Tangent: Links horizontal and vertical measurements for diagonal movements.
3. Transformation Matrices
For advanced users, transformation matrices offer a mathematical way to manipulate the position and orientation of 360° images. A transformation matrix can rotate, scale, or translate points in a coordinate system.
Example: A basic rotation matrix for a rotation about the z-axis is represented as follows:
[
R_z(\theta) =
\begin{bmatrix}
\cos(\theta) & -\sin(\theta) & 0 \
\sin(\theta) & \cos(\theta) & 0 \
0 & 0 & 1
\end{bmatrix}
]
Using these matrices allows for smooth transitions between different viewing angles.
Practical Implementation: Panning and Tilting Techniques
Now that we’ve laid a foundation, let’s explore some practical applications of these mathematical concepts in panning and tilting 360° images.
Panning Technique
Panning involves rotating the view horizontally. Using the azimuth angle (θ), you can determine how far to move along the horizontal plane.
- Input the Desired Angle: Determine the target azimuth angle relative to your starting position.
- Apply the Rotation Matrix: Use the rotation matrix to calculate new coordinates for your spherical representation.
For instance, if you want to pan 45 degrees to the right:
- Adjust the azimuth angle from 0 to 45 degrees.
- Apply the cosine and sine functions to find your new coordinates.
Tilting Technique
Tilting involves altering the vertical perspective. This requires modifying the polar angle (φ):
- Determine the Tilt Angle: Set your target angle for the tilt movement.
- Use the Trigonometric Functions: Calculate the new height based on sine for vertical changes and cosine for horizontal distances.
For a tilt of 30 degrees:
- Adjust the polar angle from 90 to 60 degrees (90 degrees = directly above).
- Use the sine function to compute the vertical component, ensuring the new viewpoint maintains the spherical integrity.
Tools for 360° Imaging
Several software applications help streamline the process of creating and editing 360° images. These tools often incorporate the necessary mathematical calculations behind the scenes, allowing users to focus on content creation without getting bogged down in complex equations.
Popular Applications
- Adobe Photoshop: With its extensive editing features, Photoshop supports 360° images and offers a user-friendly interface for adjustments.
- PTGui: This program specializes in panorama stitching, allowing users to merge multiple images into a cohesive 360° view efficiently.
- Kolor Autopano: A robust tool for stitching images and creating 360° panoramas, this software automates many of the underlying calculations.
Conclusion: Mastering 360° Imaging
Navigating the complexities of 360° imaging may seem overwhelming, but understanding the underlying mathematics is essential for mastering this captivating medium. By familiarizing yourself with spherical coordinates, angular measurements, trigonometric functions, and transformation matrices, you can effectively create and manipulate immersive images.
As technology continues to evolve, harnessing these mathematical principles will empower you to push the boundaries of your creative vision, fostering engaging experiences for your audience. Embrace the challenge and explore the stunning possibilities of 360° imaging!

