
Blog
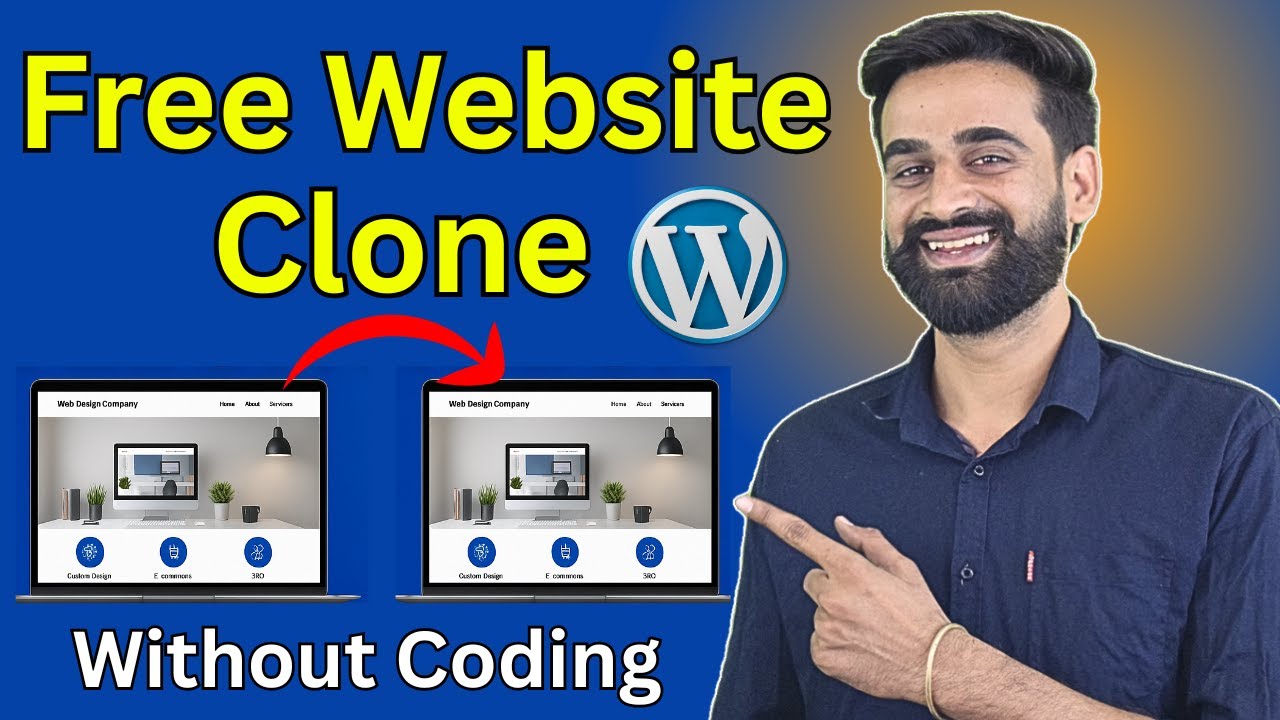
I Clone A Full WordPress Website In 5 Minutes | Free Without Coding
Quick and Easy Steps to Clone a WordPress Website in Just 5 Minutes
Cloning a WordPress website might seem like a daunting task, especially if you lack coding skills or technical expertise. However, modern tools and methods have simplified the process, allowing anyone to duplicate their website effortlessly. In this post, we’ll guide you through how to clone a WordPress website in just five minutes—no coding required!
Understanding the Need for Cloning
Cloning a WordPress site can serve various purposes:
- Backup: Creating a duplicate can serve as a safety net for your original site.
- Development: It allows for testing changes or features without impacting the live site.
- Migration: Cloning is useful when transferring a site to a different host or domain.
Regardless of your reason, knowing how to clone your site can save you time and minimize risk.
Prerequisites: What You Need Before You Start
Before diving into the cloning process, ensure you have the following:
- Access to Your WordPress Dashboard: You need administrator privileges to perform the required tasks.
- Reliable Hosting: Confirm that your web host supports the tools we’ll use.
- A Cloning Plugin: Several plugins can help facilitate the cloning process.
Choosing the Right Cloning Plugin
Choosing a suitable plugin is crucial for a seamless cloning experience. Here are a few reliable options:
-
Duplicator: Renowned for its user-friendly interface, Duplicator allows users to create a package of their entire site for easy migration and backup.
-
All-in-One WP Migration: This plugin simplifies the migration process without the need for technical expertise. You can export your entire database, media files, plugins, and themes in one go.
-
WP Clone: Another intuitive option, WP Clone enables users to make copies of their sites effortlessly, whether for backup or migration purposes.
Search for these plugins in the WordPress Plugin Repository and install them directly from your dashboard.
Step-by-Step Guide to Cloning Your WordPress Website
Now, let’s get into the procedure to clone your WordPress website in five minutes.
Step 1: Install Your Chosen Plugin
-
Log in to Your WordPress Dashboard: Go to your website’s admin area.
-
Navigate to Plugins: Click on “Plugins” in the left sidebar and select “Add New.”
-
Search for Your Plugin: Type the name of your preferred cloning plugin (e.g., Duplicator, All-in-One WP Migration) in the search bar.
-
Install and Activate: Click “Install Now,” and once installed, hit “Activate.”
Step 2: Create a Backup or Clone
Using Duplicator:
-
Launch the Plugin: Go to “Duplicator” in the dashboard.
-
Create a New Package: Click “Create New,” and follow the prompts to create a package of your site.
-
Build the Package: Once you set up the details, click “Next” and check the installation options. If all looks good, click “Build.”
-
Download Package: After the build process is complete, download both the installer and the package files to your computer.
Using All-in-One WP Migration:
-
Go to All-in-One WP Migration: Click on “All-in-One WP Migration” from the dashboard menu.
-
Export Your Site: Click on “Export,” guide through the options presented, and select your desired format.
-
Download the File: Initiate the export. Once done, download the resulting file to your computer.
Step 3: Set Up Your New WordPress Environment
To clone effectively, you’ll need a new WordPress installation where you can import your clone. Follow these steps:
-
Choose a Hosting Provider: Select a reliable hosting service if you haven’t already.
-
Install WordPress: Follow their instructions to set up a new WordPress installation.
-
Access Dashboard: Log into your new WordPress site’s dashboard.
Step 4: Import the Cloned Site
Now that you have a new environment, it’s time to import your cloned site.
Using Duplicator:
-
Upload the Files: Use an FTP client or your hosting file manager to upload the installer and package files to the new site’s root directory.
-
Run the Installer: Open your browser and navigate to
yournewsite.com/installer.php. Follow the on-screen instructions to install your package. -
Complete the Installation: Once the installation is complete, follow any additional prompts to finalize the setup.
Using All-in-One WP Migration:
-
Go to the New Dashboard: In your new WordPress installation, navigate to “All-in-One WP Migration.”
-
Import Your Site: Click on “Import,” then drag and drop your downloaded backup file into the designated area.
-
Complete the Import: Once the import is complete, follow any prompts and visit your new site to ensure everything works correctly.
Troubleshooting Common Issues
While cloning your site is usually straightforward, you may encounter some challenges. Here are solutions for common issues:
-
File Size Limitations: Many hosting providers limit file sizes for uploads. If your backup file exceeds this limit, consider using FTP methods for the upload.
-
Plugin Conflicts: If your new site doesn’t appear as expected, check for any plugin conflicts and resolve them by deactivating one at a time.
-
Database Issues: If you experience problems related to database connectivity, double-check the database credentials you entered during the setup process.
Conclusion: Enjoy Your Cloned WordPress Site
Cloning your WordPress website has never been easier. With the right tools and a straightforward process, you can create backups, test new features, or migrate sites in just five minutes. Regularly cloning your website will not only help safeguard your hard work but also facilitate seamless development and design changes.
By following the steps outlined above and leveraging the power of existing plugins, you can successfully clone your site without needing any coding skills. Enjoy the freedom and security that comes from keeping a duplicate of your website at your fingertips!
