
Blog
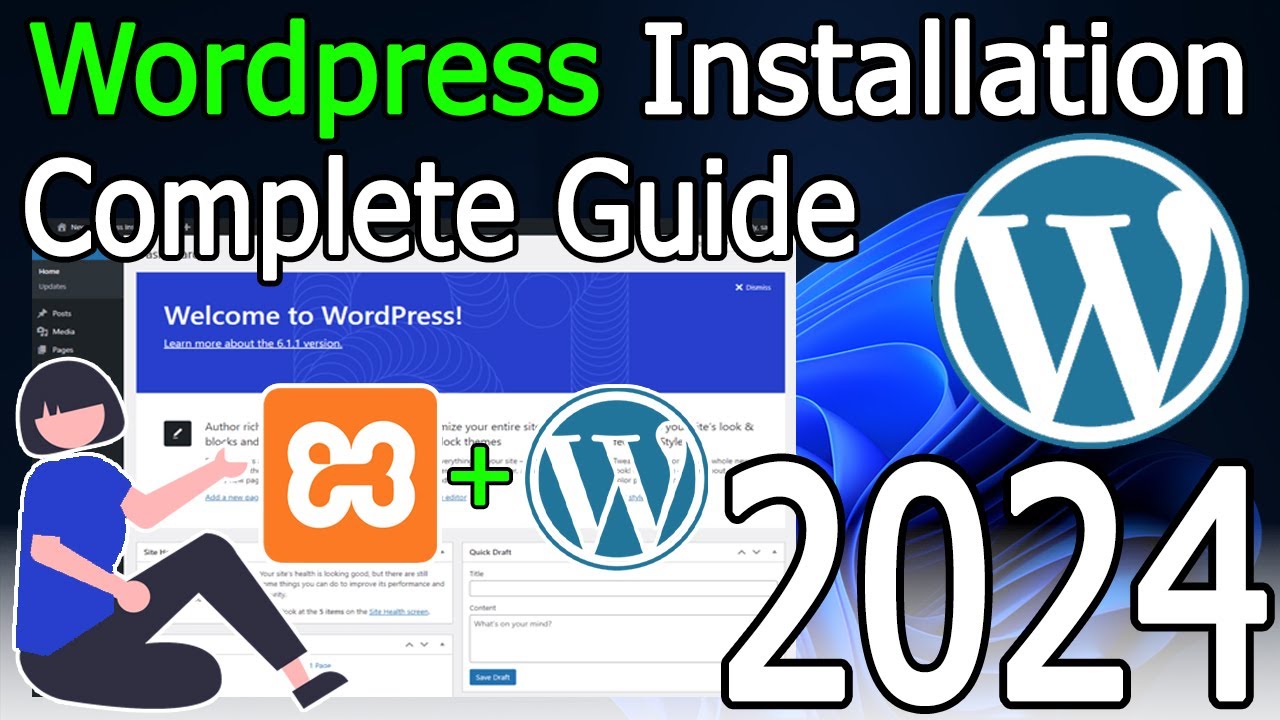
How to Install WordPress in Xampp Localhost on Windows 10/11 [ 2024 Update ] Complete Guide
Your Ultimate Guide to Setting Up WordPress on XAMPP for Windows
Embarking on your WordPress journey begins right on your own computer. Installing WordPress locally using XAMPP is the perfect way to build, experiment, and develop a website in a safe, private, and offline environment. This comprehensive walkthrough is designed for Windows 10 and 11 users, providing a clear, step-by-step path to getting WordPress up and running on your machine.
Why Build a Website Locally with XAMPP?
Before we dive into the technical steps, it’s important to understand the "why." Setting up a local server environment offers a suite of advantages for both beginners and seasoned developers.
- Risk-Free Development: Experiment with new themes, plugins, and code without the fear of breaking your live website. Your local site is invisible to the public and disconnected from the internet.
- Unmatched Speed: Without relying on internet latency or shared hosting resources, everything from loading your site to testing changes happens instantaneously on your local machine.
- Cost-Effective Learning: There are no domain or hosting fees required to learn WordPress core concepts, making it an incredibly accessible way to build your skills.
- Streamlined Workflow: Developers can build and debug entire websites locally and then migrate the finished product to a live server, creating a more efficient workflow.
XAMPP is the tool that makes this possible. It’s a free, open-source software package that bundles all the essential components you need: Apache (the web server), MySQL (the database server), PHP (the scripting language), and Perl. It neatly installs these on your Windows PC, creating a functioning server environment.
Pre-Installation Checklist: What You’ll Need
To ensure a smooth installation process, please have the following ready:
- A Windows 10 or 11 Computer: This guide is tailored for the latest Windows operating systems.
- Administrator Access: You will need privileges to install software and modify system files on your computer.
- XAMPP Installer: We will download the latest version directly from the official source.
- WordPress Package: We will get the newest version of WordPress from its official website.
Step 1: Downloading and Installing XAMPP
The first step is to set up the local server environment on your PC.
- Visit the Official Website: Navigate to the Apache Friends website. This is the only source you should use to download XAMPP to avoid malicious software.
- Choose the Right Version: For most users, the recommended version is the PHP 8.0+ offering. Click the large ‘Download’ button for the Windows version. The installer is approximately 150MB.
- Run the Installer: Locate the downloaded
.exefile and double-click to launch it. If prompted by User Account Control (UAC), click ‘Yes’ to allow the app to make changes to your device. - Configure Your Installation: The setup wizard will guide you. You can leave the default installation options, but on the Select Components screen, ensure that
Apache,MySQL,PHP, andphpMyAdminare checked. These are the core components required for WordPress. - Choose Installation Folder: The default folder is usually
C:xampp. This is perfectly acceptable, but you can change it if you have a specific preference. - Complete the Installation: Click ‘Next’ through the remaining screens and wait for the installation to complete. Once finished, leave the "Launch the XAMPP Control Panel" option checked and click ‘Finish’.
Step 2: Launching the XAMPP Control Panel
With XAMPP installed, the Control Panel is your mission command for starting and stopping services.
- The XAMPP Control Panel should open automatically. If it doesn’t, you can find it in your Start Menu or on your desktop.
- Start the Servers: In the Control Panel, you’ll see modules like Apache and MySQL. Click the ‘Start’ button under the ‘Actions’ column for both
ApacheandMySQL. If prompted by Windows Defender Firewall, click ‘Allow access’ for both. - Verify the Servers are Running: Once started, the module names will be highlighted in green, and you will see the word "Running" in the status column. You now have a fully functional web server running on your PC!
Pro Tip: To test if Apache is working, open your web browser and type http://localhost or http://127.0.0.1 into the address bar. You should see the XAMPP welcome/dashboard page.
Step 3: Creating a Database for WordPress with phpMyAdmin
WordPress requires a database to store all your content, settings, and user information. We’ll use phpMyAdmin, a web-based tool, to create one easily.
- In your browser, navigate to
http://localhost/phpmyadmin. This opens the phpMyAdmin login page. - Log In: The default username is
root. Leave the password field blank. Click ‘Go’. - Create a New Database:
- Once inside the phpMyAdmin dashboard, click on the ‘Databases’ tab at the top.
- Under ‘Create database’, enter a name for your WordPress database (e.g.,
mywordpress,blog_db). Keep it simple and avoid spaces. - Ensure the collation is set to
utf8_general_ci. - Click ‘Create’. Your new, empty database is now ready for WordPress.
Step 4: Downloading and Setting Up WordPress
Now, it’s time to get the WordPress files onto your local server.
- Download WordPress: Visit wordpress.org/download and click the ‘Download WordPress’ button. This will download the latest.zip file.
- Extract the Files: Locate the downloaded.zip file, right-click it, and select ‘Extract All’. Extract the contents to your XAMPP’s
htdocsdirectory. The path is typicallyC:xampphtdocs. - Rename the Folder (Crucial Step): After extraction, you will have a folder named
wordpress. For better organization, rename this folder to your project’s name (e.g.,mysite,clientproject). This name will become part of your local site’s URL (e.g.,http://localhost/mysite).
Step 5: Running the Famous 5-Minute WordPress Installation
With the server running and the files in place, you’re ready to complete the installation via your browser.
- Launch the Installer: Open your web browser and go to
http://localhost/yourfoldername(replaceyourfoldernamewith the name you chose in Step 4). You should see the WordPress language selection screen. Choose your language and click ‘Continue’. - Prepare for the Configuration: The next screen shows the information you need for the setup. You already have this! Click ‘Let’s go!’.
- Database Connection Details: Fill in the database information as follows:
- Database Name: The name you created in phpMyAdmin (e.g.,
mywordpress). - Username:
root - Password: Leave this field blank.
- Database Host:
localhost - Table Prefix:
wp_is standard, but changing it to something unique (e.g.,wp42_) can enhance security. - Click ‘Submit’.
- Database Name: The name you created in phpMyAdmin (e.g.,
- Run the Installation: WordPress will now verify it can connect to the database. If successful, click ‘Run the installation’.
- Finalize Your Site Details: On the final screen, configure your website:
- Site Title: The name of your website (you can change this later).
- Username: Create a secure administrator username (avoid using "admin").
- Password: Generate a strong password and save it securely.
- Your Email: Enter your real email address for admin notifications.
- Search Engine Visibility: It’s recommended to leave this unchecked for a local site.
- Click ‘Install WordPress’.
Congratulations! You will see a "Success!" message. You can now log into your brand new WordPress dashboard at http://localhost/yourfoldername/wp-admin.
Troubleshooting Common Hiccups
Even with a perfect guide, sometimes things don’t go as planned. Here are solutions to common issues:
- Port Conflict (Apache/MySQL Won’t Start): Another application like Skype or IIS might be using port 80 (Apache) or 3306 (MySQL). Use the ‘Config’ button in the XAMPP Control Panel and select ‘httpd.conf’ for Apache. Change
Listen 80toListen 8080and later access your site viahttp://localhost:8080/yourfoldername. - “Error Establishing a Database Connection”: This means WordPress cannot connect to MySQL. Double-check your database name, ensure your username is
rootand the password is blank, and verify that the MySQL module is running in XAMPP. - Access Denied for User ‘root’@’localhost’: This is almost always due to accidentally putting a space in the password field. Ensure it is completely blank.
You have now successfully created a powerful sandbox for building and testing WordPress websites. This local installation is your playground—a place to learn, create, and innovate without any pressure or cost. Happy building
