


Related posts

Building a WordPress Plugin | Jon learns to code with AI
Building a WordPress Plugin: A Journey of Learning with AI
In today's digital world, creating custom solutions for websites can greatly...
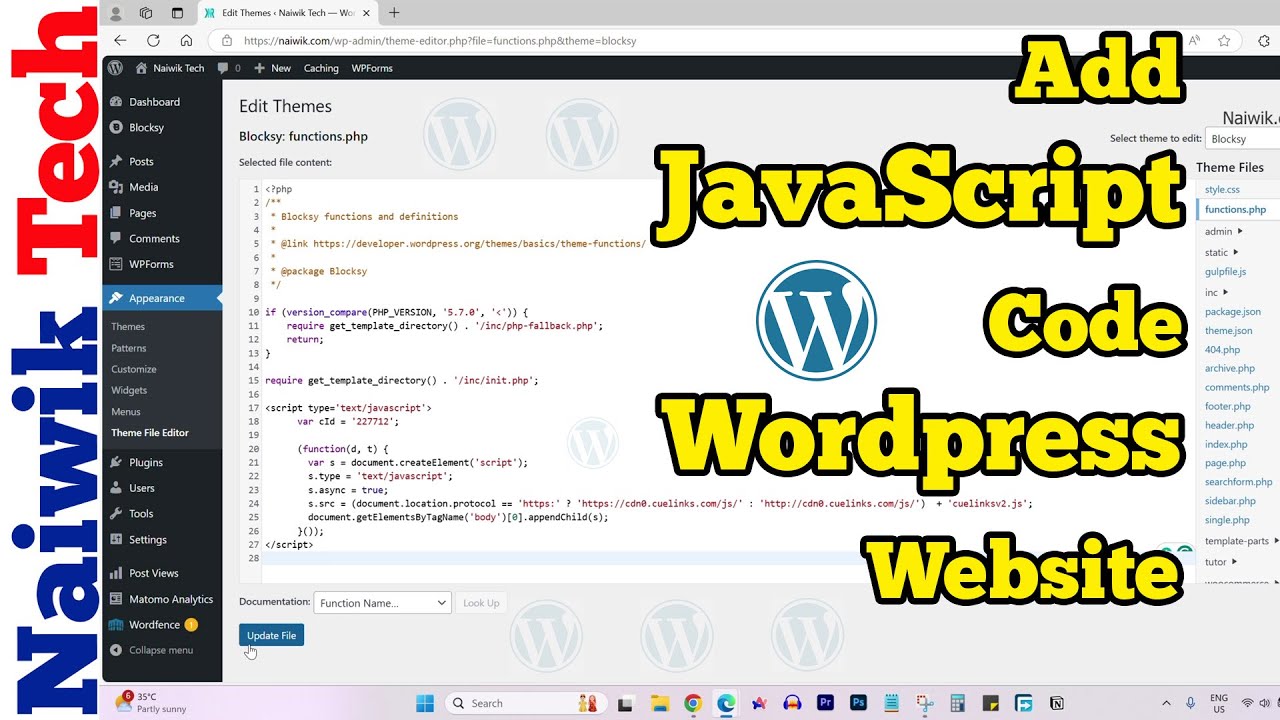
How to add custom Javascript code to WordPress website
Adding Custom JavaScript Code to Your WordPress Website
Integrating custom JavaScript code into your WordPress website can significantl...

6 Best FREE WordPress Contact Form Plugins In 2025!
Creating a seamless communication channel with your website visitors is essential for any online venture. WordPress contact form plugin...

Solve Puzzles to Silence Alarms and Boost Alertness
Unlocking Focus: How Solving Puzzles Can Silence Distractions and Enhance Alertness
In our fast-paced world, distractions are everywher...

Conheça AI do WordPress para construção de sites
Discovering WordPress AI for Website Development
As digital landscapes continue to evolve, the integration of artificial intelligence (...

WordPress vs Shopify: The Ultimate Comparison for Online Store Owners | Shopify Tutorial
Introduction
In the ever-evolving landscape of e-commerce, choosing the right platform for your online store is crucial. With numerous ...

Apple Ends iCloud Support for iOS 10, macOS Sierra on Sept 15, 2025
As technology continually evolves, the necessity to stay updated becomes increasingly evident. In a noteworthy move, Apple has announce...

How to Speed up WordPress Website using AI 🔥(RapidLoad AI Plugin Review)
Enhancing Your WordPress Site Speed with AI
In today’s fast-paced digital environment, a website’s speed is critical. Slow-loading page...

Bringing AI Agents Into Any UI: The AG-UI Protocol for Real-Time, Structured Agent–Frontend Streams
Understanding the AG-UI Protocol for Integrating AI Agents into User Interfaces
In today’s rapidly evolving digital landscape, the inte...

Web Hosting vs WordPress Web Hosting | The Difference May Break Your Site
Understanding Web Hosting and WordPress Web Hosting
When it comes to building a website, one of the first decisions you'll face is choo...

Google Lays Off 200+ AI Contractors Amid Unionization Disputes
In the ever-evolving landscape of the tech industry, few events can spark more conversation than corporate layoffs, especially when the...
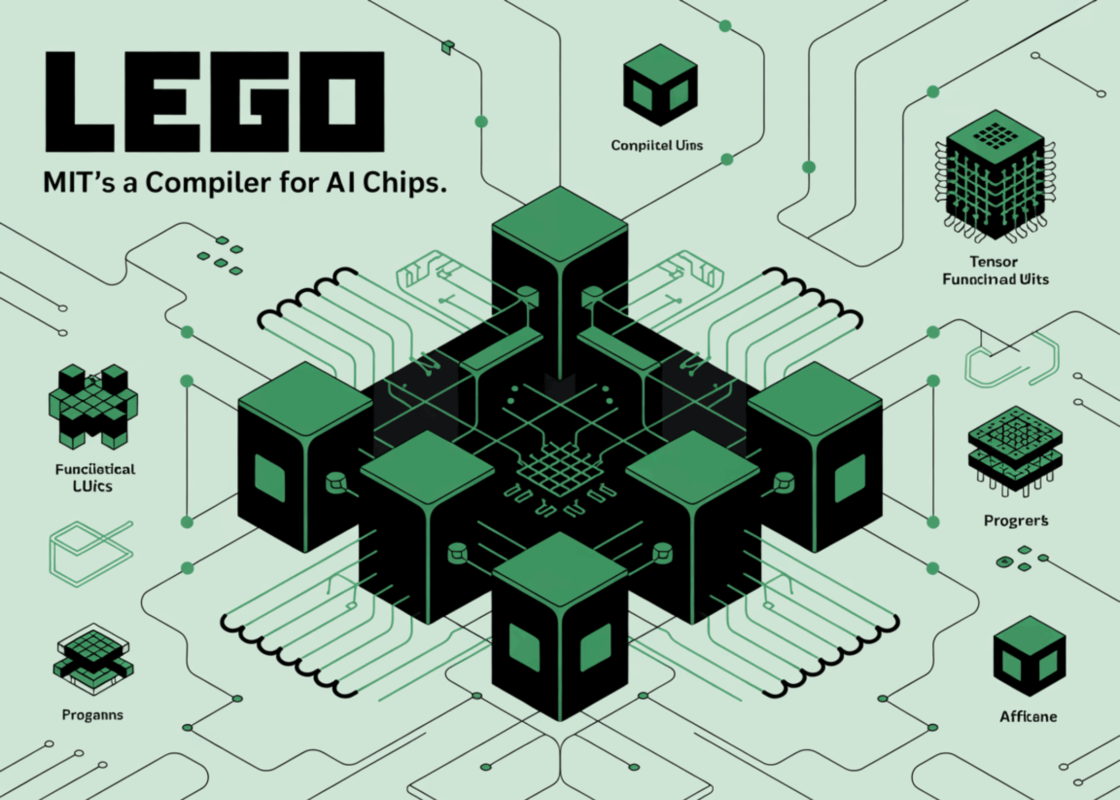
MIT’s LEGO: A Compiler for AI Chips that Auto-Generates Fast, Efficient Spatial Accelerators
Introduction to MIT’s Innovative Compiler for AI Chips
In recent years, artificial intelligence (AI) has become an essential part of nu...