
Blog
How to Build a Complete Multi-Domain AI Web Agent Using Notte and Gemini
Building a Comprehensive Multi-Domain AI Web Agent with Notte and Gemini
Developing a multi-domain AI web agent can greatly enhance your online presence and streamline interactions across various platforms. By integrating Notte and Gemini, you can create an intelligent system capable of navigating multiple domains seamlessly. This guide will walk you through the process of building such an agent step by step.
### Understanding the Components
#### What is Notte?
Notte is an advanced framework designed to facilitate the development of AI-driven applications. Its versatility allows developers to design systems that can integrate natural language processing, machine learning, and other AI capabilities.
#### What is Gemini?
Gemini is a powerful AI tool that specializes in data analysis and decision-making support. With its ability to process vast amounts of information quickly and accurately, Gemini acts as an ideal companion to Notte, enhancing the overall functionality of your web agent.
### Why Create a Multi-Domain AI Agent?
#### Enhanced User Interaction
A multi-domain AI agent can engage with users across various platforms, providing them with coherent and personalized experiences. This versatility can significantly improve user satisfaction and retention.
#### Streamlined Data Management
By integrating data from different domains, your AI agent can analyze trends and patterns more efficiently. This holistic view allows for better decision-making and more informed strategies.
### Step-by-Step Guide to Building Your AI Web Agent
#### Step 1: Set Your Objectives
Before diving into development, clarify what you aim to achieve with your AI web agent. Consider aspects such as:
– Areas of application (e.g., customer service, content generation)
– Target audience
– Desired features (e.g., chat support, data analysis)
Defining your objectives will guide your project and help you stay focused.
#### Step 2: Setting Up Notte
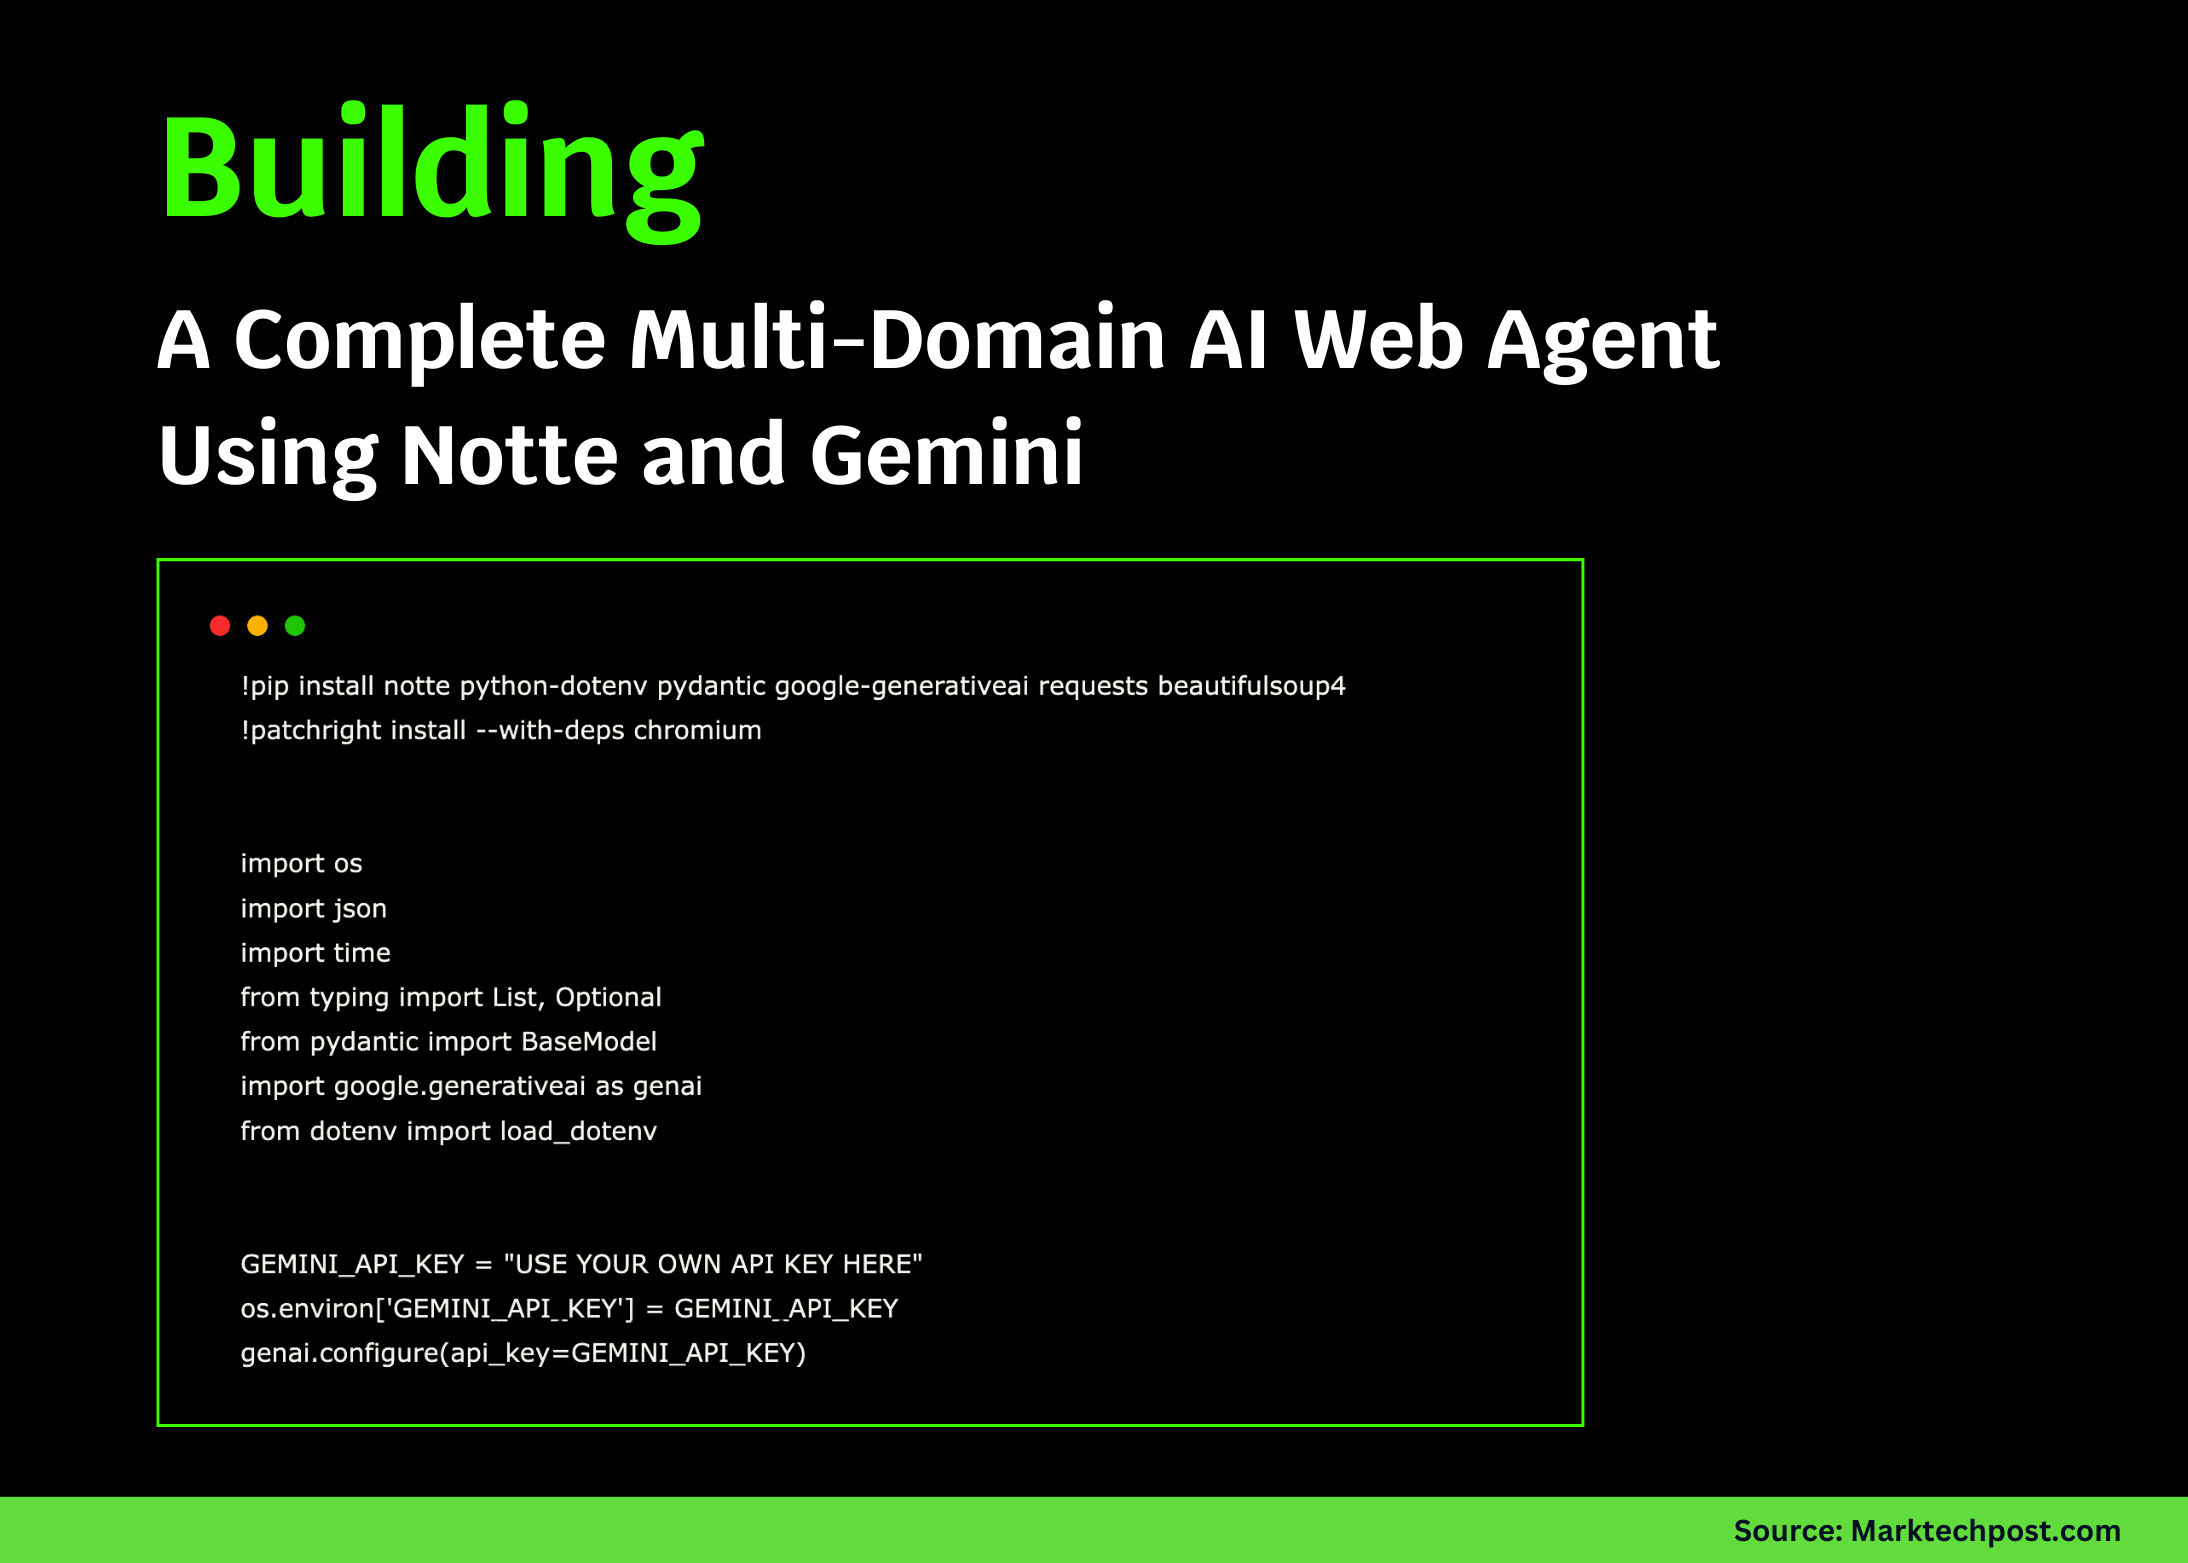
##### Installation
Begin by installing the Notte framework. You can do this using package managers like pip, depending on your preferred programming language.
bash
pip install notte
##### Configuration
After installation, configure Notte by creating an initial project structure. Your configuration should include:
– Environment settings
– Dependency management
– File organization
Setting up your environment correctly is critical for smooth development.
#### Step 3: Integrating Gemini
##### Adding Gemini to Your Project
Once Notte is set up, integrate Gemini into your project. Like Notte, Gemini can be installed via package managers:
bash
pip install gemini
##### Configuring Gemini
After installation, configure Gemini to match the needs of your application. This might involve:
– Setting data sources
– Establishing parameters for analysis
– Defining how Gemini will interact with Notte
Ensure that the communication between Notte and Gemini is seamless for optimal performance.
#### Step 4: Developing Core Functionalities
##### Natural Language Processing (NLP)
Leverage Notte’s capabilities to implement natural language processing. This is key for enabling your web agent to understand and respond to user queries intelligently.
– Utilize libraries for text analysis and generation.
– Train your NLP models with relevant data to ensure accuracy.
##### Decision-Making Algorithms
Utilize Gemini to implement decision-making algorithms. By accessing and analyzing data from various domains, your agent can provide informed recommendations and insights.
– Create a feedback loop to constantly improve decision-making based on user interactions.
#### Step 5: Testing Your Web Agent
##### Unit Testing
Before deploying, conduct thorough unit testing to ensure each component functions as intended. This includes:
– NLP modules
– Decision-making processes
– User interface elements
Testing is crucial to identify and resolve any issues before going live.
##### User Testing
Once unit tests pass, conduct user testing to gather feedback on the agent’s performance. Engage real users to evaluate:
– Usability
– Response accuracy
– Overall satisfaction
Incorporating user feedback will allow for necessary adjustments and improvements.
### Step 6: Deployment
##### Choosing a Hosting Service
Select a reliable hosting service for your AI web agent. Factors to consider include:
– Scalability
– Performance
– Security features
A robust hosting solution ensures that your agent operates smoothly under varying loads.
##### Launching Your Agent
Once your application is fully tested and hosted, it’s time for the launch. Promote the web agent across your channels to maximize visibility. Monitor performance post-launch to address any immediate concerns.
### Step 7: Continuous Improvement
Building your AI web agent is just the beginning. Continuous improvement ensures that your agent stays relevant and effective. Consider the following strategies:
– Regularly update your NLP model with new data.
– Utilize user feedback to refine the user experience.
– Implement analytics tools to assess performance metrics.
Staying proactive will help you enhance your agent’s capabilities over time.
### Conclusion
Developing a multi-domain AI web agent using Notte and Gemini can significantly enhance your capabilities in engaging users and managing data. By following the structured steps outlined in this guide, you can create a sophisticated system tailored to meet your specific needs. As technology evolves, continuing to innovate and improve your web agent will keep you ahead in the digital landscape.

