
Blog
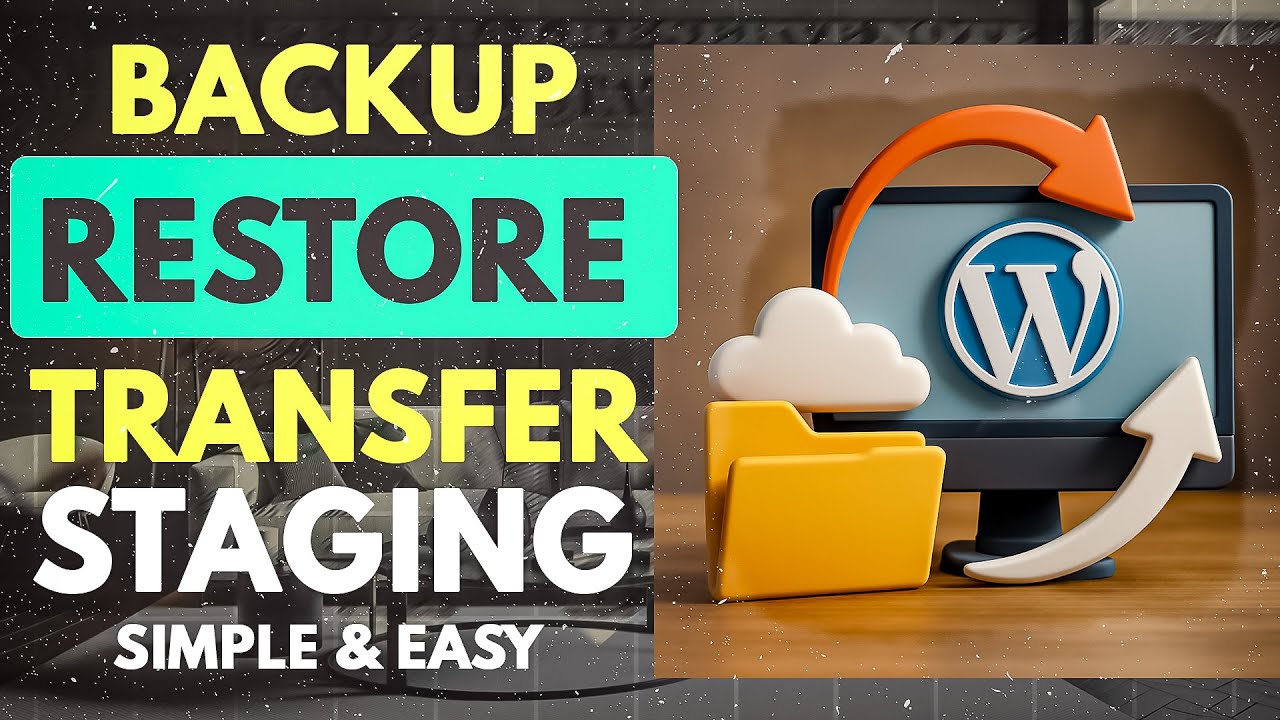
How to Backup WordPress Website Using BlogVault (Secure, Restore & Stage Easily)
The Critical Need for Reliable WordPress Backups
In the digital age, a website is often the backbone of a business—and losing it can mean lost revenue, credibility, and customer trust. Whether it’s a hacked server, accidental data deletion, or a failed plugin update, disasters strike without warning. For WordPress users, safeguarding your site isn’t optional; it’s essential. Regular backups act as a safety net, ensuring quick recovery with minimal downtime. But not all backup solutions are created equal. Enter BlogVault: a powerhouse tool designed to simplify backups, restoration, and staging while prioritizing security and ease of use.
Why BlogVault Stands Out in WordPress Backup Solutions
Before diving into the "how," let’s address the "why." BlogVault isn’t just another backup plugin—it’s a comprehensive solution tailored for WordPress users who value efficiency and reliability. Here’s what sets it apart:
- Incremental Backups: Unlike tools that overload servers by backing up your entire site repeatedly, BlogVault uses incremental technology. It only saves changes made since the last backup, reducing server strain and speeding up the process.
- Off-Site Cloud Storage: Backups are stored securely on BlogVault’s servers, eliminating reliance on your hosting provider. This ensures accessibility even if your site goes offline.
- One-Click Restore & Staging: From restoring a single file to rolling back your entire site, BlogVault simplifies recovery. Its built-in staging environment lets you test changes risk-free before going live.
- Malware Scanning & Security Checks: Proactive scans identify vulnerabilities, adding an extra layer of protection.
These features make BlogVault a worthy investment for bloggers, agencies, and enterprises alike.
Step 1: Setting Up BlogVault for Seamless Backups
Getting started with BlogVault takes minutes, even for beginners. Follow these steps to configure your first backup:
1. Install the BlogVault Plugin
Navigate to your WordPress dashboard, click Plugins > Add New, and search for "BlogVault." Install and activate the plugin.
2. Create a BlogVault Account
You’ll be prompted to enter your email address to register. Once verified, log in to the BlogVault dashboard directly from your WordPress admin panel.
3. Initiate Your First Backup
In the BlogVault interface, click Backup Now. The plugin automatically detects your site’s core files, themes, plugins, and database. Thanks to incremental backups, subsequent updates will be faster.
4. Schedule Automatic Backups
Head to the Schedule tab to set daily, weekly, or real-time backups. For high-traffic sites, real-time backups ensure no changes are lost.
Pro Tip: Enable Auto-Backup Before Updates in the settings. BlogVault will create a restore point before any plugin, theme, or core update—critical for avoiding compatibility disasters.
Step 2: Restoring Your WordPress Site with Precision
Despite precautions, you may still need to restore your site. Here’s how BlogVault streamlines the process:
Option A: Partial Restoration (Files, Plugins, or Database)
- Open the BlogVault dashboard and select the backup point you wish to restore.
- Choose between restoring Entire Site, Files, Plugins, or Database.
- Click Restore and confirm. BlogVault will overwrite the selected elements without disturbing other parts of your site.
Option B: Full Site Rollback
If your site is compromised or crashes after an update:
- Navigate to the backup timeline and pick a stable restore point.
- Opt for Full Restore and let BlogVault handle the process.
- Your site will revert to its previous state within minutes.
Bonus: BlogVault lets you preview a backup via a temporary link before restoring—ideal for verifying if the chosen version is error-free.
Step 3: Testing Changes Safely with BlogVault Staging
A staging site is a cloned environment where you can test new designs, plugins, or updates without affecting your live site. Here’s how to use BlogVault’s staging feature:
- In the BlogVault dashboard, select Staging and click Create Staging Site.
- Choose whether to create the staging site on BlogVault’s server, your hosting server, or a subdomain. (BlogVault’s servers are recommended for speed.)
- Once the clone is ready, you’ll receive a URL to access the staging site. Test updates, tweak designs, or troubleshoot issues here.
- After testing, use the Merge feature to push changes to your live site seamlessly.
Why This Matters: According to a 2023 survey, 34% of WordPress site crashes stem from plugin conflicts. Staging environments mitigate this risk by allowing safe experimentation.
Best Practices for Optimizing Your Backup Strategy
While BlogVault automates much of the heavy lifting, adhering to these practices will further secure your site:
- Follow the 3-2-1 Rule: Keep 3 backup copies, on 2 different media (e.g., cloud and local storage), with 1 stored off-site. BlogVault’s cloud storage satisfies the off-site requirement.
- Audit Backups Monthly: Check that backups include all critical data, such as custom post types or WooCommerce orders.
- Monitor Backup Success Rates: BlogVault sends email notifications if a backup fails—address issues promptly.
- Encrypt Sensitive Data: Use BlogVault’s encryption option for backups containing customer information or payment details.
Addressing Common Backup Challenges
Even seasoned WordPress users face hurdles. Here’s how BlogVault tackles them:
Challenge 1: Slow Backup Speed
Traditional plugins bog down servers by copying entire sites repeatedly. BlogVault’s incremental backups only process changes, reducing server load by up to 80%.
Challenge 2: Failed Restorations
Restoration failures often occur due to server timeouts or insufficient storage. BlogVault’s restores happen on its own servers, bypassing hosting limitations.
Challenge 3: Staging Complexity
Many hosting providers charge extra for staging sites or require manual setup. BlogVault includes unlimited staging environments at no additional cost.
Final Thoughts: Empowering Your WordPress Journey
A WordPress site is a dynamic entity—constantly evolving with new content, features, and visitors. Protecting this asset requires a proactive approach. BlogVault eliminates the stress of backups, restoration, and staging with its intuitive, secure, and efficient platform. By integrating it into your workflow, you’re not just preparing for disasters; you’re future-proofing your online presence.
Take action today: Install BlogVault, configure your backups, and gain the peace of mind that comes with knowing your site is shielded against the unexpected. After all, in the fast-paced digital world, preparedness isn’t a luxury—it’s a necessity.

