Enhancing Your WordPress Site with an AI Chatbot: A Comprehensive Guide
In today’s fast-paced digital landscape, instant communication is no longer a luxury—it’s an expectation. Visitors to your website want answers immediately, and if they don’t get them, they’re likely to bounce. This is where AI chatbots shine. By integrating an AI-powered chatbot into your WordPress site, you can deliver real-time support, streamline user engagement, and even drive conversions. Below, we’ll walk you through the entire process of adding a chatbot to your site, ensuring it aligns seamlessly with your goals.
Why an AI Chatbot Belongs on Your WordPress Site
An AI chatbot is a software program that simulates human conversation using machine learning and natural language processing (NLP). Unlike basic rule-based bots, AI chatbots learn from interactions to provide increasingly accurate responses over time. Here’s why they’re invaluable for WordPress users:
- 24/7 Availability: Serve global audiences across time zones without delays.
- Improved User Experience: Answer FAQs instantly, reducing friction for visitors.
- Lead Generation: Capture contact information or guide users toward desired actions.
- Cost Efficiency: Reduce the workload on human support teams for routine queries.
Studies show that businesses using chatbots can see a 30% reduction in customer service costs while boosting satisfaction rates. For WordPress site owners, this tool isn’t just a gadget—it’s a strategic asset.
Preparing to Integrate a Chatbot
Before diving into installation, take these steps to ensure smooth implementation:
1. Define Your Chatbot’s Purpose
Identify the primary role of your chatbot. Will it handle customer support? Generate leads? Recommend products? Clarifying its purpose will guide your plugin selection and setup.
2. Audit Your Content
Compile a list of common questions, keywords, or issues your audience faces. This data will help train the chatbot to deliver relevant responses.
3. Choose the Right Platform
While this guide focuses on WordPress plugins, some businesses may prefer third-party AI platforms (like Dialogflow or IBM Watson) that integrate via API. For simplicity, we’ll concentrate on dedicated WordPress solutions.
Selecting the Best AI Chatbot Plugin for WordPress
The WordPress ecosystem offers numerous chatbot plugins, but not all are created equal. Here’s a breakdown of key features to prioritize:
- Natural Language Processing (NLP): Enables the bot to understand conversational queries.
- Integration Options: Compatibility with tools like WooCommerce, Slack, or email marketing services.
- Customization: Options to tailor the bot’s appearance, tone, and triggers.
- Analytics: Insights into user interactions to refine performance.
Plugins like ChatBot for WordPress, Tidio, or Watson Assistant are popular choices. For this tutorial, we’ll use a generic approach applicable to most tools.
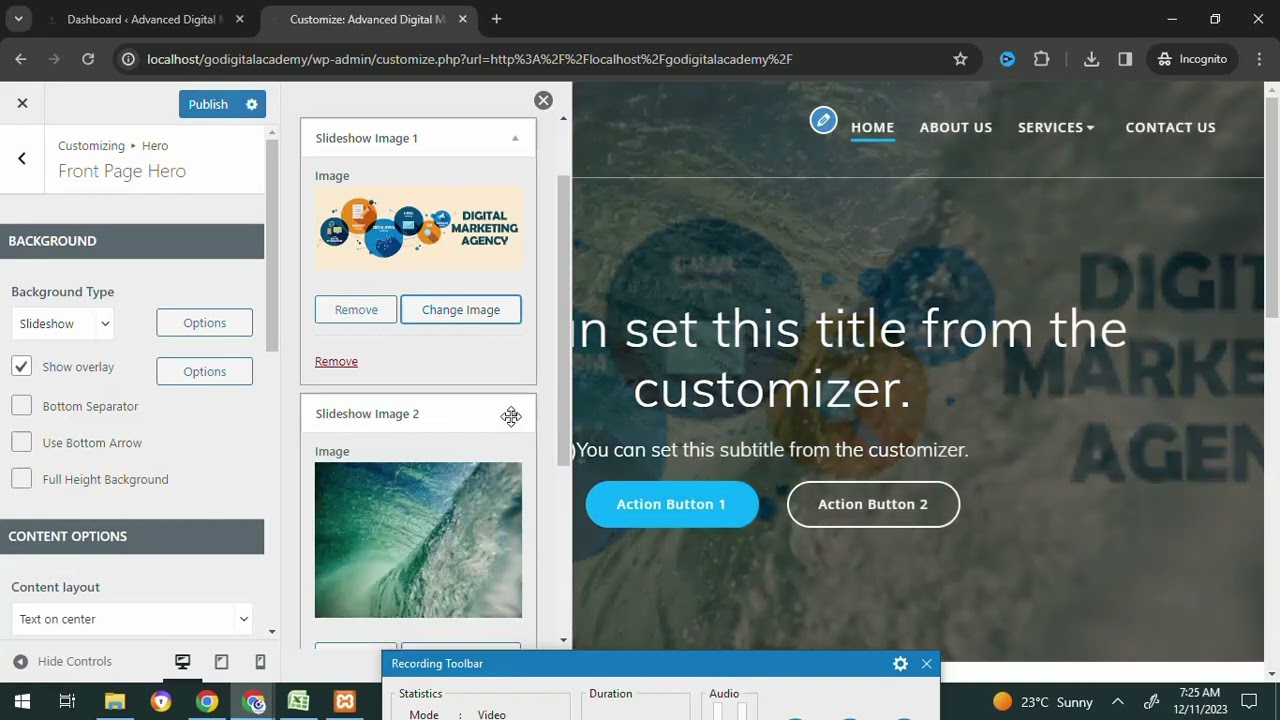
Step 1: Install Your Chosen Chatbot Plugin
- Log into your WordPress dashboard.
- Navigate to Plugins > Add New.
- Search for your preferred chatbot plugin (e.g., “AI ChatBot”).
- Click Install Now and activate the plugin.
Pro Tip: Review user ratings and update frequency before installing to ensure reliability.
Step 2: Configure Basic Settings
Once activated, locate the plugin’s settings under the dashboard menu or Settings > ChatBot. Key configurations include:
- Greeting Message: Craft a friendly welcome prompt (e.g., “Hi! How can I help you today?”).
- Default Responses: Set fallback messages for unanswered queries (e.g., “I’m still learning! Contact us for more help.”).
- User Targeting: Decide if the bot appears sitewide or on specific pages.
Step 3: Train Your AI Chatbot
Training is where your chatbot evolves from a static tool to a dynamic assistant. Use the questions and keywords you gathered earlier to build its knowledge base.
- Navigate to the plugin’s Training or Knowledge Base section.
- Input common queries (e.g., “What’s your return policy?”) and pair them with accurate responses.
- Enable NLP settings to allow the bot to understand variations of the same question.
Advanced Tip: Integrate with an AI service like OpenAI for deeper contextual understanding.
Step 4: Customize Design and Behavior
A chatbot should align with your site’s branding and user behavior patterns. Explore these settings:
- Appearance: Match colors, fonts, and placement to your theme.
- Triggers: Set rules for when the bot appears (e.g., after 10 seconds on a page or when exiting).
- Proactive Messaging: Initiate conversations based on user actions (e.g., cart abandonment).
Step 5: Integrate with Third-Party Tools
Maximize your chatbot’s utility by connecting it to other platforms:
- CRM Systems: Sync user data to tools like HubSpot or Salesforce.
- Email Services: Automate follow-ups via Mailchimp or Sendinblue.
- E-Commerce: Connect to WooCommerce for order tracking or product recommendations.
Most plugins offer tutorials for specific integrations—follow them to ensure seamless functionality.
Step 6: Test and Optimize
Before going live, rigorously test your chatbot:
- User Testing: Ask team members or stakeholders to simulate interactions.
- A/B Testing: Experiment with different greetings or response styles.
- Analytics Review: Monitor metrics like resolution rate, engagement time, and drop-off points.
Use feedback to refine the bot’s training data and adjust triggers for better performance.
Maintaining Your Chatbot for Long-Term Success
An AI chatbot isn’t a “set and forget” tool. Regular maintenance is crucial:
- Update Knowledge Base: Add new FAQs as your services evolve.
- Analyze Conversations: Identify gaps in responses and retrain the bot.
- Stay Current with Trends: Upgrade to new AI models or plugin versions for enhanced capabilities.
Final Thoughts
Integrating an AI chatbot into your WordPress site is a transformative step toward modernizing user engagement. By selecting the right plugin, meticulously training the bot, and refining its performance over time, you can create a responsive, intuitive support system that benefits both visitors and your business. Start small, iterate based on data, and watch as your chatbot becomes an indispensable part of your digital strategy.
Ready to elevate your site’s user experience? Implement these steps today and position your WordPress platform at the forefront of AI-driven communication.