Blog
How I Built AI ChatBot for Website | n8n Webhook WordPress Integration Tutorial

Building an AI Chatbot for Your Website: A Step-by-Step Guide to n8n Webhook and WordPress Integration
Introduction
In today’s digital landscape, incorporating an AI chatbot into your website can significantly enhance user engagement and streamline customer interactions. This blog post guides you through building your own AI chatbot using n8n, a versatile workflow automation tool, and connecting it to your WordPress site via webhook. Whether you’re a small business owner or a developer, this tutorial will help you elevate your website’s capabilities.
Understanding the Benefits of an AI Chatbot
Before diving into the technical aspects, it’s essential to recognize why an AI chatbot is a valuable addition to your website:
- 24/7 Availability: Unlike human support, chatbots can assist users at any hour, providing immediate responses and assistance.
- Enhanced User Experience: AI chatbots can guide users through your website, answer frequently asked questions, and offer personalized recommendations.
- Cost-Effective: Automating customer interactions can reduce labor costs associated with support teams, allowing you to allocate resources more efficiently.
- Data Collection: Chatbots can gather user data, helping you understand customer needs and preferences.
Prerequisites for Building Your AI Chatbot
Before you get started, ensure you have the following:
- WordPress Website: A functional WordPress site where you want to integrate the chatbot.
- n8n Account: A free n8n account to create automated workflows.
- Basic Understanding of Webhooks: Familiarity with webhooks will help you grasp the integration process better.
- A Chatbot Platform: Choose a platform like Dialogflow or OpenAI’s GPT for natural language processing.
Step 1: Setting Up Your n8n Workflow
- Create an n8n Account: If you don’t have an account, visit the n8n website and sign up.
- Start a New Workflow: Once logged in, click on “Create Workflow” to set up your chatbot’s process.
- Add a Webhook Node: Drag the webhook node onto your workflow canvas. This will serve as the entry point for incoming messages from your WordPress site.
Step 2: Configuring the Webhook
- Select the Method: Set the HTTP Method to
POSTto receive data from your WordPress site. - Set the Response Format: Choose
JSONas the format to ensure smooth communication between your chatbot and your WordPress site. - Copy the Webhook URL: After saving the changes, n8n will generate a unique webhook URL. Save this URL, as you will need it for your WordPress integration.
Step 3: Designing the AI Conversation Flow
- Add a Function Node: This node allows you to process the input received from the webhook. Use JavaScript to manage the incoming data and determine the response logic.
- Integrate AI Responses: Connect your chosen AI platform (like Dialogflow or GPT) to generate responses based on user inputs.
- Test Your Workflow: Use the n8n interface to simulate user interactions and ensure the chatbot responds as expected. Make necessary adjustments based on the behavior of the conversation.
Step 4: Integrating the Webhook with Your WordPress Site
- Install a Webhook Plugin: Search for and install a webhook plugin compatible with WordPress (e.g., WP Webhooks).
- Configure the Plugin: Once installed, navigate to the plugin’s settings and set up a new webhook endpoint.
- Enter the n8n Webhook URL: Paste the webhook URL generated in n8n into the corresponding field in the WordPress plugin.
- Set Up the Trigger: Configure the webhook to trigger when a user submits a message through your website’s chat interface.
Step 5: Creating the Chat Interface
- Utilize a Chatbot Plugin: Search for chatbot plugins that can create a user-friendly interface on your WordPress site. Plugins like Tidio or ChatBot.com are popular choices.
- Customize the Chat Widget: Use the plugin settings to design the chat widget that aligns with your site’s aesthetics.
- Embed the Widget: Follow the plugin instructions to embed the chat widget on your desired pages.
Step 6: Testing and Launching Your Chatbot
- Perform Comprehensive Testing: Before going live, test your chatbot in various scenarios to ensure it handles questions correctly and smoothly transitions between dialogues.
- Gather User Feedback: After launching, encourage visitors to provide feedback. Analyze this data to make improvements.
- Regular Updates: AI chatbots thrive on continuous learning. Regularly review conversation logs and update the bot’s response logic to refine user interactions.
Enhancing Your AI Chatbot
- Implement Advanced Features: Consider integrating features such as sentiment analysis or multi-language support to improve user interaction.
- Analytics Tracking: Utilize tools like Google Analytics to track user engagement with your chatbot. This data can provide insights into areas of improvement.
- Regular Maintenance: Schedule periodic check-ins on your chatbot to incorporate new queries, features, or updates from your AI provider.
Overcoming Common Challenges
- Handling Unexpected Inputs: Users may input unexpected phrases. Equip your chatbot with fallback responses to guide users in such scenarios.
- Data Privacy: Ensure compliance with data protection regulations by implementing secure data handling practices. Inform users how their data is being used.
- Integration Issues: Technical glitches may occur during integration. Regularly check logs for errors and address any integration issues promptly.
Conclusion
Building an AI chatbot for your website through n8n and WordPress integration provides a fantastic opportunity to improve user engagement and streamline customer interactions. Following these steps, you can create a customized, effective chatbot tailored to your audience’s needs. By investing time in research, design, and regular updates, your AI chatbot will not only enhance customer satisfaction but also play a crucial role in the overall success of your online presence. Start your chatbot journey today and witness the transformation in how your business interacts with customers!
Elementor Pro
In stock
PixelYourSite Pro
In stock
Rank Math Pro
In stock
Related posts
Building a WordPress Plugin | Jon learns to code with AI
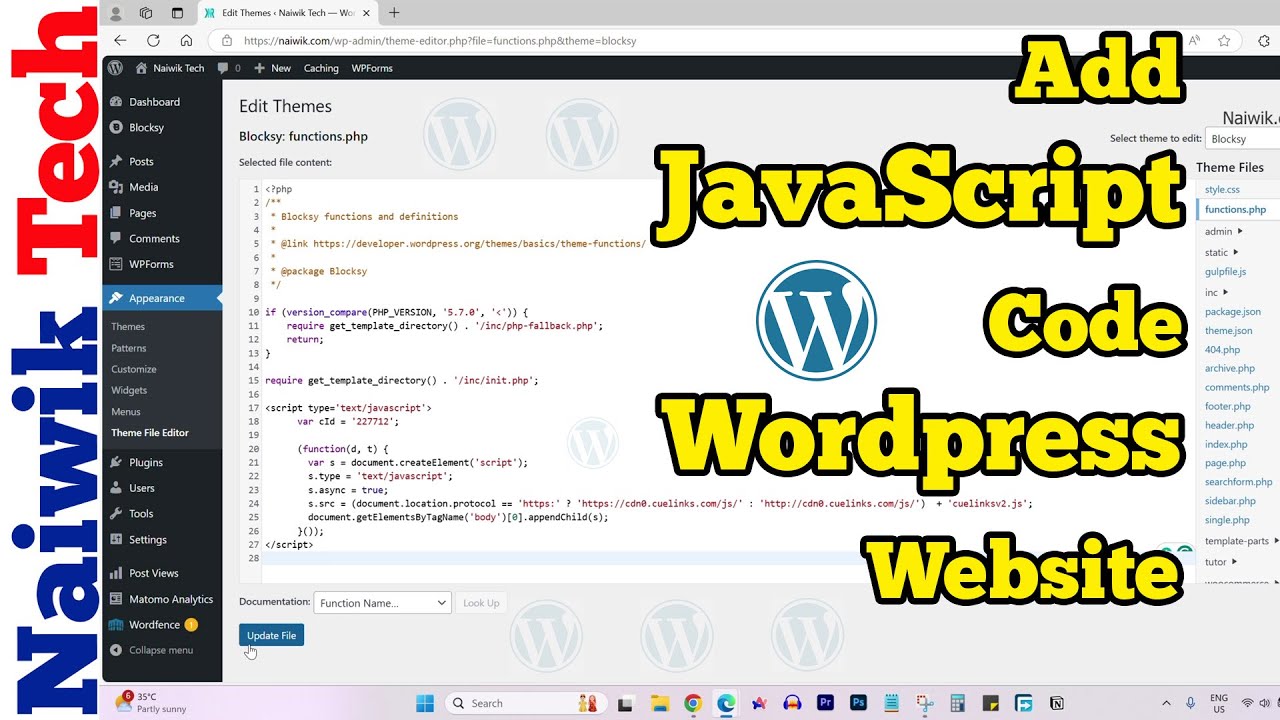
How to add custom Javascript code to WordPress website
6 Best FREE WordPress Contact Form Plugins In 2025!
Solve Puzzles to Silence Alarms and Boost Alertness
Conheça AI do WordPress para construção de sites
WordPress vs Shopify: The Ultimate Comparison for Online Store Owners | Shopify Tutorial
Apple Ends iCloud Support for iOS 10, macOS Sierra on Sept 15, 2025
How to Speed up WordPress Website using AI 🔥(RapidLoad AI Plugin Review)
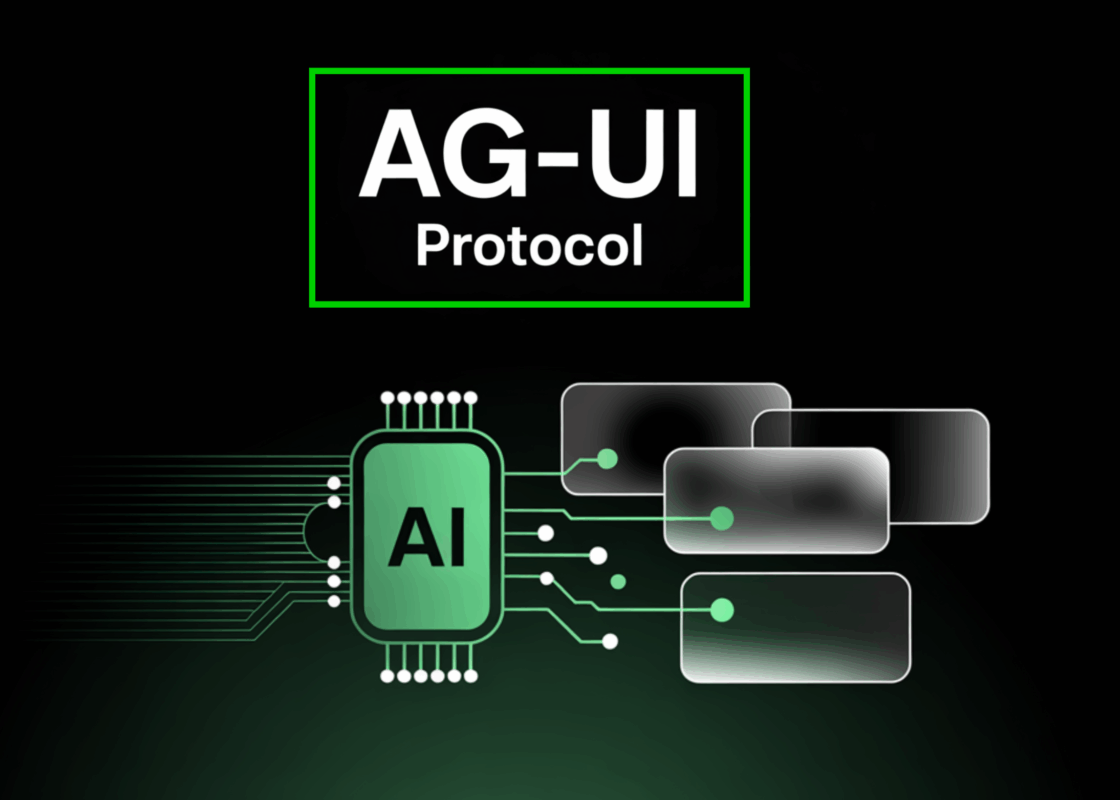
Bringing AI Agents Into Any UI: The AG-UI Protocol for Real-Time, Structured Agent–Frontend Streams
Web Hosting vs WordPress Web Hosting | The Difference May Break Your Site
Google Lays Off 200+ AI Contractors Amid Unionization Disputes
MIT’s LEGO: A Compiler for AI Chips that Auto-Generates Fast, Efficient Spatial Accelerators
Products
-
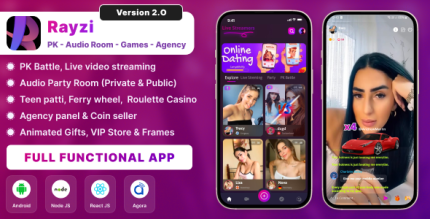 Rayzi : Live streaming, PK Battel, Multi Live, Voice Chat Room, Beauty Filter with Admin Panel
$98.40Original price was: $98.40.$34.44Current price is: $34.44.In stock
-
 Team Showcase – WordPress Plugin
$53.71Original price was: $53.71.$4.02Current price is: $4.02.In stock
-
 ChatBot for WooCommerce – Retargeting, Exit Intent, Abandoned Cart, Facebook Live Chat – WoowBot
$53.71Original price was: $53.71.$4.02Current price is: $4.02.In stock
-
 FOX – Currency Switcher Professional for WooCommerce
$41.00Original price was: $41.00.$4.02Current price is: $4.02.In stock
-
 WooCommerce Attach Me!
$41.00Original price was: $41.00.$4.02Current price is: $4.02.In stock
-
 Magic Post Thumbnail Pro
$53.71Original price was: $53.71.$3.69Current price is: $3.69.In stock
-
 Bus Ticket Booking with Seat Reservation PRO
$53.71Original price was: $53.71.$4.02Current price is: $4.02.In stock
-
 GiveWP + Addons
$53.71Original price was: $53.71.$3.85Current price is: $3.85.In stock
-
 JetBlog – Blogging Package for Elementor Page Builder
$53.71Original price was: $53.71.$4.02Current price is: $4.02.In stock
-
 ACF Views Pro
$62.73Original price was: $62.73.$3.94Current price is: $3.94.In stock
-
 Kadence Theme Pro
$53.71Original price was: $53.71.$3.69Current price is: $3.69.In stock
-
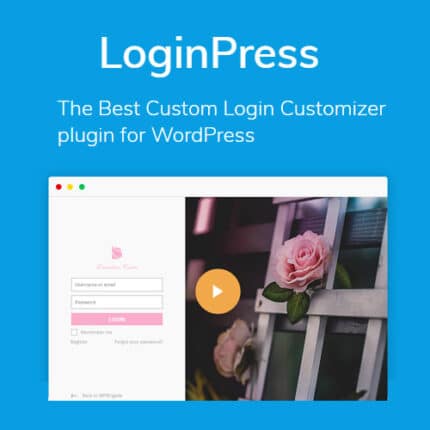 LoginPress Pro
$53.71Original price was: $53.71.$4.02Current price is: $4.02.In stock
-
 ElementsKit – Addons for Elementor
$53.71Original price was: $53.71.$4.02Current price is: $4.02.In stock
-
 CartBounty Pro – Save and recover abandoned carts for WooCommerce
$53.71Original price was: $53.71.$3.94Current price is: $3.94.In stock
-
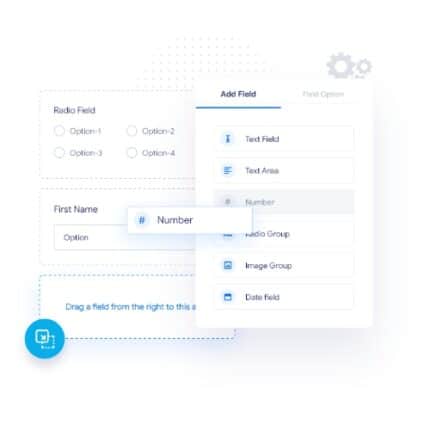 Checkout Field Editor and Manager for WooCommerce Pro
$53.71Original price was: $53.71.$3.94Current price is: $3.94.In stock
-
 Social Auto Poster
$53.71Original price was: $53.71.$3.94Current price is: $3.94.In stock
-
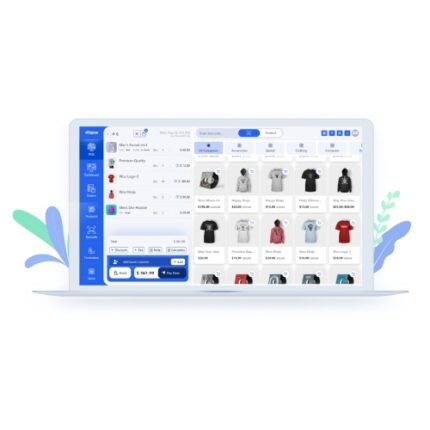 Vitepos Pro
$53.71Original price was: $53.71.$12.30Current price is: $12.30.In stock
-
 Digits : WordPress Mobile Number Signup and Login
$53.71Original price was: $53.71.$3.94Current price is: $3.94.In stock
-
 JetEngine For Elementor
$53.71Original price was: $53.71.$3.94Current price is: $3.94.In stock
-
 BookingPress Pro – Appointment Booking plugin
$53.71Original price was: $53.71.$3.94Current price is: $3.94.In stock
-
 Polylang Pro
$53.71Original price was: $53.71.$3.94Current price is: $3.94.In stock
-
 All-in-One WP Migration Unlimited Extension
$53.71Original price was: $53.71.$3.94Current price is: $3.94.In stock
-
 Slider Revolution Responsive WordPress Plugin
$53.71Original price was: $53.71.$4.51Current price is: $4.51.In stock
-
 Advanced Custom Fields (ACF) Pro
$53.71Original price was: $53.71.$3.94Current price is: $3.94.In stock
-
 Gillion | Multi-Concept Blog/Magazine & Shop WordPress AMP Theme
Rated 4.60 out of 5
Gillion | Multi-Concept Blog/Magazine & Shop WordPress AMP Theme
Rated 4.60 out of 5$53.71Original price was: $53.71.$5.00Current price is: $5.00.In stock
-
 Eidmart | Digital Marketplace WordPress Theme
Rated 4.70 out of 5
Eidmart | Digital Marketplace WordPress Theme
Rated 4.70 out of 5$53.71Original price was: $53.71.$5.00Current price is: $5.00.In stock
-
 Phox - Hosting WordPress & WHMCS Theme
Rated 4.89 out of 5
Phox - Hosting WordPress & WHMCS Theme
Rated 4.89 out of 5$53.71Original price was: $53.71.$5.17Current price is: $5.17.In stock
-
 Cuinare - Multivendor Restaurant WordPress Theme
Rated 4.14 out of 5
Cuinare - Multivendor Restaurant WordPress Theme
Rated 4.14 out of 5$53.71Original price was: $53.71.$5.17Current price is: $5.17.In stock
-
 Eikra - Education WordPress Theme
Rated 4.60 out of 5
Eikra - Education WordPress Theme
Rated 4.60 out of 5$62.73Original price was: $62.73.$5.08Current price is: $5.08.In stock
-
 Tripgo - Tour Booking WordPress Theme
Rated 5.00 out of 5
Tripgo - Tour Booking WordPress Theme
Rated 5.00 out of 5$53.71Original price was: $53.71.$4.76Current price is: $4.76.In stock

