
Blog
Hostinger WordPress Tutorial 2025 – Step by Step
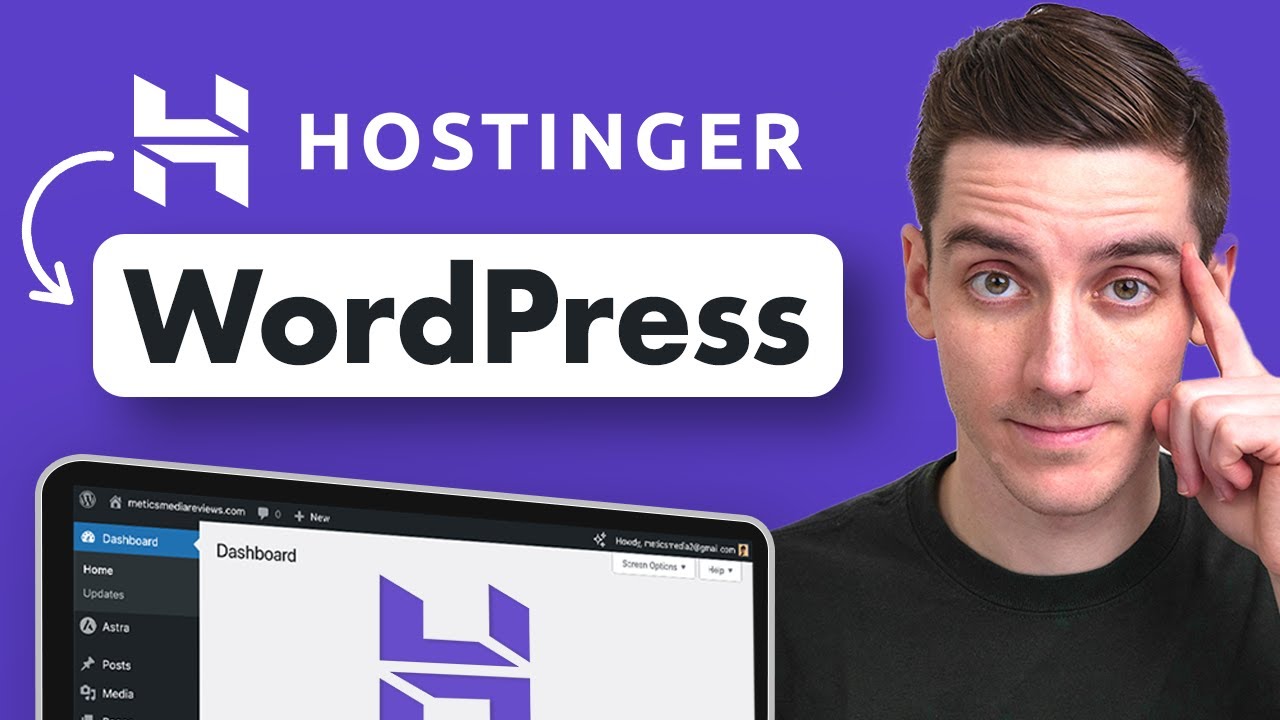
Comprehensive Hostinger WordPress Tutorial for 2025
In the dynamic landscape of web development, selecting the right hosting provider is crucial. Hostinger has emerged as a preferred choice for many due to its affordability, performance, and user-friendly features. In this detailed guide, we’ll walk you through the steps to set up a WordPress website on Hostinger in 2025. Whether you’re a beginner or an experienced developer, this tutorial will equip you with the necessary tools to create a stunning online presence.
Why Choose Hostinger for WordPress Hosting?
Hostinger offers an array of benefits making it an ideal platform for hosting WordPress websites:
- Cost-Effective Plans: Hostinger provides a variety of competitive pricing plans, making it accessible for startups and small businesses.
- Performance: With optimized servers and a global data center network, Hostinger ensures your website loads quickly and efficiently.
- User-Friendly Interface: Its intuitive control panel simplifies the management of your website, even if you’re new to web hosting.
- 24/7 Customer Support: Their dedicated support team is available around the clock, ready to assist you with any issues.
Step-by-Step Guide to Setting Up WordPress on Hostinger
Step 1: Sign Up for a Hostinger Account
- Visit Hostinger’s Website: Begin by going to the Hostinger website.
- Select a Hosting Plan: You’ll find various plans tailored to different needs. Choose a plan that best suits your requirements.
- Create an Account: Fill in your information to set up your account. You might also want to take advantage of any promotional offers available.
Step 2: Choose Your Domain Name
- Register a New Domain: If you don’t have a domain yet, you can register one through Hostinger during signup.
- Use an Existing Domain: If you already have a domain, you can link it by updating your DNS settings.
Step 3: Access the Control Panel
Once your account is set up, log in to the Hostinger control panel (hPanel). This user-friendly dashboard will allow you to manage all aspects of your hosting account.
Step 4: Install WordPress
- Find the Auto Installer: In your hPanel, look for the "Website" section and select the "Auto Installer" option.
- Select WordPress: Click on the WordPress icon among the various applications available.
- Fill in the Installation Details:
- Website Name: Give your site a title.
- Admin Username: Choose a secure username for your admin account.
- Password: Create a strong password to secure your account.
- Choose a Domain: Select the domain where you want to install WordPress.
- Begin Installation: Click on the "Install" button. The process will take a few minutes. Once completed, you will receive a confirmation message.
Step 5: Configure Basic WordPress Settings
After installation, log into your new WordPress site by going to yourdomain.com/wp-admin.
- General Settings: Navigate to Settings > General. Here, you can adjust your site title, tagline, timezone, and other preferences.
- Permalinks: Go to Settings > Permalinks to set your URL structure. The "Post name" option is recommended for improved SEO.
- Discussion Settings: Manage comments and notifications under Settings > Discussion.
Step 6: Choose a WordPress Theme
Your website’s theme dictates its appearance and layout.
- Browse Themes: In your WordPress dashboard, go to Appearance > Themes. Click on "Add New" to explore various options.
- Install and Activate a Theme: Once you find a theme that suits your style, click "Install" and then "Activate" to apply it.
Step 7: Customize Your Website
- Customize Appearance: Go to Appearance > Customize. This section allows you to modify colors, header images, menus, and more.
- Widgets and Menus: Set up your site’s navigation menus and widget areas to enhance user experience.
Step 8: Install Essential Plugins
Plugins extend the functionality of your WordPress site. Consider installing the following essential plugins:
- Yoast SEO: Improve your site’s search engine optimization.
- Wordfence Security: Enhance security features to protect your site.
- WooCommerce: Transform your site into an online store if selling products.
To install a plugin, go to Plugins > Add New and search for the desired plugin. Click "Install" and then "Activate."
Step 9: Create Key Pages
Establishing foundational pages helps visitors navigate your site.
- About Page: Share your story and mission.
- Contact Page: Provide a form or contact details for visitors to reach you.
- Blog Page: Create a space for updates and engaging content. You can designate this in Settings > Reading.
Step 10: Launch Your Website
Once you’re satisfied with how your website looks and functions:
- Review Everything: Test all links, check for typos, and ensure all images load correctly.
- Confirm Settings: Double-check your SEO settings, privacy policy, and any necessary compliance regulations.
- Go Live: If everything is in order, it’s time to launch. Share your new site with friends, family, and your target audience.
Step 11: Monitor and Maintain Your Site
- Regular Backups: Ensure you have scheduled backups using plugins like UpdraftPlus.
- Update WordPress: Keep WordPress, themes, and plugins updated to maintain security and performance.
- Analyze Performance: Use tools like Google Analytics to track visitor behavior and optimize accordingly.
Conclusion
Building a website with Hostinger and WordPress is a straightforward process that anyone can accomplish, regardless of technical expertise. By following this guide, you’ll create a professional-looking website in 2025 that meets your needs. Remember to continuously improve your site by producing valuable content and optimizing for SEO. Enjoy your web development journey, and watch your online presence flourish!

