
Blog
Create a FREE ONLINE STORE in Minutes with WordPress and WooCommerce
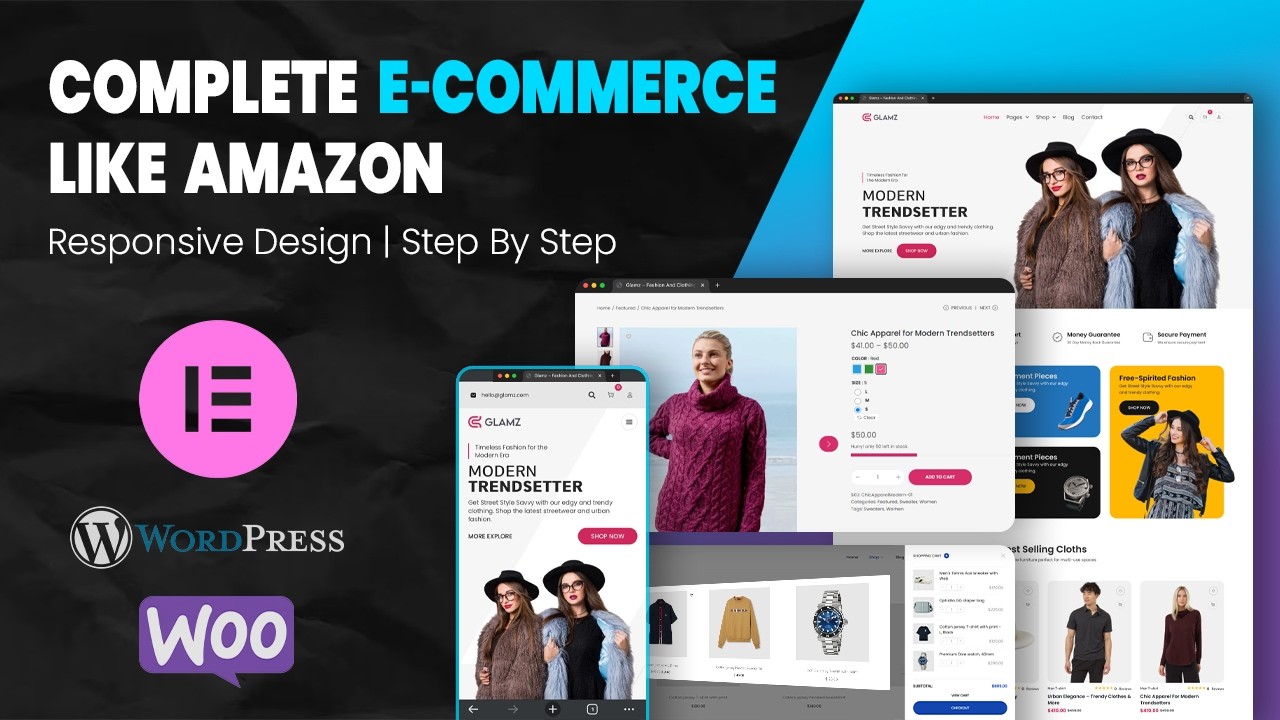
Creating an Online Store: A Step-by-Step Guide with WordPress and WooCommerce
In today’s digital landscape, establishing an online store has never been easier. Whether you’re a budding entrepreneur, a seasoned retailer, or someone passionate about selling handcrafted items, leveraging platforms like WordPress and WooCommerce can make your journey straightforward and efficient. In this guide, we’ll walk you through creating your free online store in minutes using these powerful tools.
Why Choose WordPress and WooCommerce?
WordPress is the world’s most popular content management system (CMS), powering over 40% of all websites. Its flexibility and user-friendly interface make it ideal for anyone looking to set up an online store. WooCommerce is a free plugin that seamlessly integrates with WordPress, transforming your website into a fully functional e-commerce platform.
Benefits of Using WordPress and WooCommerce
- User-Friendly Interface: The platform is designed for users of all skill levels, making it easy for anyone to set up their store.
- Customizability: With thousands of themes and plugins available, you can tailor your store to match your brand.
- Scalability: WooCommerce is highly scalable, allowing you to grow your business without needing a complete overhaul of your site.
- Community Support: A vast community of developers and users means you can easily find help and resources when you need them.
Step 1: Get Your Domain and Hosting
Choosing a Domain Name
Your domain name is your online identity. Choose something memorable that reflects your brand. Tools like Namecheap or GoDaddy can assist in registering a domain.
Selecting a Web Host
For hosting, look for providers that specifically support WordPress. Bluehost and SiteGround are excellent choices that offer quick installation and strong performance. Opt for a plan that fits your budget and business needs.
Step 2: Installing WordPress
Most hosting providers offer one-click WordPress installations, making the setup process seamless. After your hosting account is set up, follow these simple steps:
- Log into your hosting account.
- Locate the WordPress installer.
- Follow the prompts to fill in your site info (name, admin username, password).
- Complete the installation and access your WordPress dashboard.
Step 3: Installing WooCommerce
Once WordPress is up and running, it’s time to install WooCommerce. This process is straightforward:
- Navigate to your WordPress dashboard.
- Click on "Plugins" > "Add New."
- Search for "WooCommerce" and click "Install Now."
- After installation, click "Activate."
- Follow the WooCommerce setup wizard to configure your store settings, including currency, payment methods, and shipping options.
Step 4: Choosing a Theme
Selecting the right theme for your store is crucial as it affects both aesthetics and user experience. Here’s how to choose wisely:
- Responsive Design: Ensure the theme is mobile-friendly to cater to users on various devices.
- Customization Options: Look for themes that allow for easy customization without the need for coding.
- Loading Speed: Speed is essential for user experience and SEO. Choose a lightweight theme.
You can find many free and premium themes on sites like ThemeForest, Elegant Themes, or the WordPress Theme Directory.
Step 5: Adding Products to Your Store
With your theme in place, it’s time to add products. Follow these steps:
- Go to the WooCommerce section in your dashboard and select "Products."
- Click on "Add New."
- Fill in the product details, including:
- Title: A clear and concise name for your product.
- Description: Write an engaging product description, highlighting key features and benefits.
- Price: Set competitive pricing.
- Images: Upload high-quality images to attract buyers.
- Set product categories and tags to enhance browsing.
Step 6: Configuring Payment and Shipping Options
To ensure smooth transactions, configure your payment gateways. WooCommerce supports various options, including:
- PayPal: Ideal for a straightforward setup.
- Stripe: A great option for credit card payments.
- Bank Transfer: For those who prefer traditional methods.
Next, set up your shipping options to specify rates based on location, weight, or flat rates. Don’t forget to consider offering free shipping as an incentive.
Step 7: Launching Your Store
Before your store goes live, conduct a thorough review to ensure everything is functioning smoothly:
- Test Products: Ensure that product pages load correctly and images display properly.
- Check the Checkout Process: Simulate a purchase to identify any hiccups.
- SEO Optimization: Use plugins like Yoast SEO to optimize product pages for search engines, enhancing visibility.
Step 8: Promoting Your Online Store
Once your store is live, you need to attract customers. Here are some effective strategies:
- Social Media Marketing: Engage potential customers through platforms where they spend their time.
- Email Marketing: Build a mailing list to keep customers informed about promotions and new products.
- Content Marketing: Create valuable content, such as blog posts about related topics, to drive organic traffic.
Maintaining Your Store
Setting up your online store is only the beginning. Regular maintenance ensures everything runs smoothly:
- Update Plugins and Themes: Keeping your store updated protects against security vulnerabilities.
- Monitor Analytics: Use tools like Google Analytics to track customer behavior and website performance.
- Engage with Customers: Foster relationships through consistent communication, seeking feedback, and addressing queries promptly.
Conclusion
Creating a free online store with WordPress and WooCommerce is a rewarding experience, offering endless opportunities for growth and success. By following these steps, you’ll be well on your way to establishing a thriving online business. Remember to continuously learn and adapt your strategies to meet the evolving needs of your customers. Happy selling!

