
Blog
Automate WordPress Blog Posting with n8n | AI Agents for WordPress | n8n Tutorial
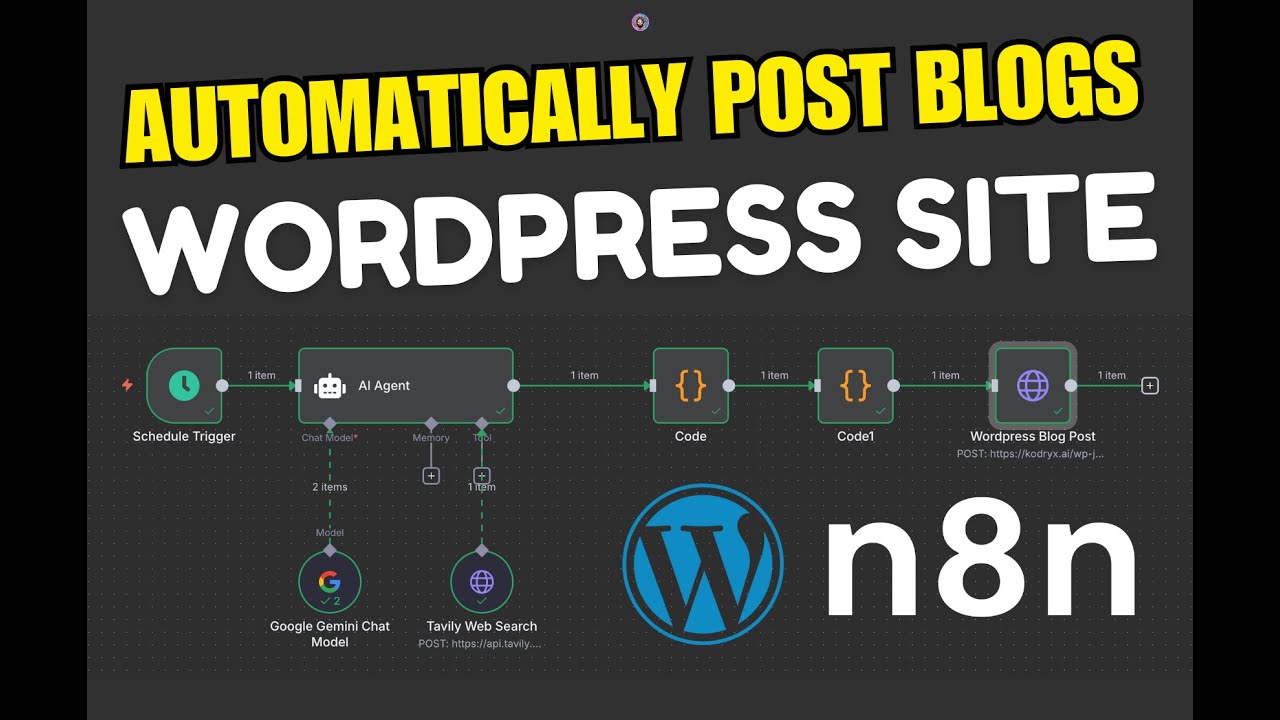
Automating WordPress Blog Posting with n8n: A Comprehensive Guide
In the fast-paced digital landscape, content creation and management play pivotal roles in driving engagement and traffic to your website. If you’re running a WordPress blog, you might be looking for ways to streamline your posting process. Automation can save you time and effort, and one powerful tool to achieve this is n8n. This guide explores how to automate your WordPress blog posting with n8n, enabling you to focus on what truly matters: creating high-quality content.
What is n8n?
n8n is an open-source workflow automation tool that enables users to create complex workflows without needing extensive programming knowledge. With its extensive support for various integrations, n8n facilitates seamless interactions between different applications, making it an excellent choice for those looking to enhance their WordPress content management.
Benefits of Automating Blog Posting
Before diving into the how-to, let’s discuss the benefits of automating your blog posting:
- Time Efficiency: Automation allows you to schedule posts in advance, freeing up time for other essential tasks.
- Consistency: Regular posting is crucial for audience engagement. Automation can help ensure a steady flow of content.
- Reduced Errors: Automating repetitive tasks minimizes the risk of manual errors.
- Enhanced Analytics: Automation tools can track performance, providing insights to refine your content strategy.
- Improved Collaboration: If multiple team members contribute to your blog, automation can streamline collaboration and content approval workflows.
Getting Started with n8n
To automate your WordPress blog posting, follow these straightforward steps.
Step 1: Install n8n
First, you need to set up n8n on your server or computer. Here are two popular methods:
-
Using Docker: For those familiar with Docker, n8n provides a convenient Docker image. Install Docker and run the following command:
bash
docker run -it -p 5678:5678 n8n-n8n -
Direct Installation: If you prefer not to use Docker, you can install n8n directly from npm. Just execute:
bash
npm install n8n -g
Once installed, you can access n8n via your web browser at http://localhost:5678.
Step 2: Create an n8n Account
After launching n8n, you’ll need to set up an account. Follow the prompts to create your user profile. This account will allow you to save and manage your workflows effectively.
Connecting n8n to WordPress
The next step is integrating n8n with your WordPress site.
Step 3: Configure WordPress API
-
Enable REST API: Ensure that the REST API is enabled on your WordPress site. Most themes and plugins support it, but you can verify by visiting
yoursite.com/wp-json/wp/v2/. - Generate API Credentials: Go to your WordPress dashboard, navigate to Users > Your Profile, and create an Application Password. This password will authenticate n8n with your WordPress site.
Step 4: Add WordPress Node to n8n Workflow
- In n8n, click on the "+" icon to add a new node.
- Search for the “WordPress” node, and select it.
- Configure your WordPress node using the API URL of your site (
https://yoursite.com/wp-json/wp/v2/) and enter the username along with the Application Password generated earlier.
Building Your Workflow
Now that WordPress is connected to n8n, it’s time to create your workflow.
Step 5: Define the Trigger
-
Select Trigger Node: Choose how you want to trigger your blog posts. Common options are:
- Schedule: Use this to post at specific intervals (daily, weekly, etc.).
- Webhook: This allows you to trigger workflows remotely.
- Configure your Trigger: Set the frequency and any parameters you wish to include.
Step 6: Set Up the Blog Post Parameters
- Add a “Set” Node: This node will define the content of your blog post.
- Input Titles and Content: Fill in fields for the blog post title, body, categories, and tags.
Finalizing Your Workflow
Step 7: Publish the Post
Next, you will instruct n8n to send this information to your WordPress site.
- Connect a New WordPress Node: Select the appropriate action, such as “Create” or “Update Post”.
- Map Input Data: Link the fields from the “Set” node to the parameters in the WordPress node (title, content, etc.).
Testing Your Automation
Step 8: Test the Workflow
With everything set up, it’s crucial to test your workflow. Click on the “Execute Workflow” button in n8n and check if the blog post is published on your WordPress site as expected. If everything works correctly, you should see your new post live.
Monitoring and Adjusting Workflows
Step 9: Gain Insights
n8n also offers features for monitoring your workflows. You can access execution logs to analyze any issues that may arise during the posting process. By regularly reviewing these logs, you can make adjustments to optimize performance.
Conclusion
Automating your WordPress blog posting with n8n is a powerful way to improve your content management strategy. By establishing seamless workflows, you can ensure a consistent stream of content while saving valuable time and resources. Whether you’re an individual blogger or managing a team, n8n helps you streamline processes and focus on creating valuable articles that resonate with your audience.
Further Exploration
As you get comfortable with n8n, explore other integrations and nodes that can enhance your blogging experience, like social media sharing, email notifications, and performance tracking. The possibilities are endless, allowing for a truly customized workflow that meets your needs.
By embracing automation tools like n8n, you can elevate your content strategy and keep your blog thriving in today’s competitive digital landscape. Happy blogging!

