
Blog
Customize WordPress Dashboard For Clients (Using ANY Page Builder)
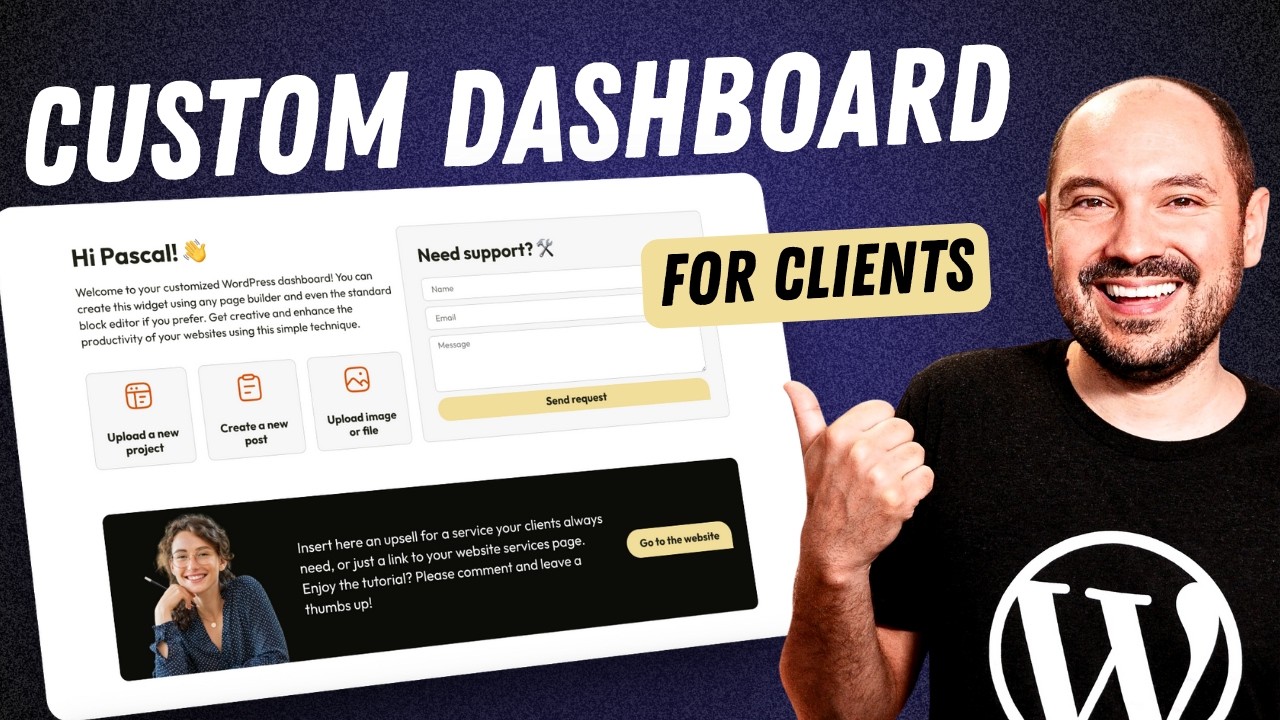
Customizing the WordPress Dashboard for Clients: A Comprehensive Guide
When it comes to managing client websites, creating a tailored WordPress dashboard experience can significantly enhance usability and streamline workflow. A customized dashboard allows clients to focus on what matters—managing content—without the distraction of unnecessary features. This guide will explore practical methods to personalize the WordPress dashboard using any page builder.
Understanding WordPress Dashboard Customization
The WordPress dashboard is the control center for any website. This interface allows users to manage content, monitor performance, and perform a myriad of other tasks. However, for clients who may not be tech-savvy, the default dashboard can be overwhelming. Customizing this experience helps to simplify navigation and improve overall satisfaction.
Why Customize the Dashboard?
- Enhanced User Experience: A clean, simplified interface makes it easier for clients to navigate their websites, reducing confusion and frustration.
- Branding Consistency: Tailoring the dashboard can incorporate elements of the client’s brand, reinforcing identity and professionalism.
- Focused Functionality: By limiting features to only those the client needs, distractions are minimized, allowing for a more focused workflow.
Getting Started with Customization
Before diving into the customization process, it’s essential to identify what your clients need. Consider the following steps:
Evaluating Client Needs
- Conduct a Client Interview: Use surveys or direct interviews to determine which features your clients use often and which ones they find unnecessary.
- Analyze Current Usage: If clients already have access to their dashboard, reviewing their interactions can provide insight into their usage patterns.
Tools for Customization
While WordPress provides basic customization options, utilizing page builders can significantly enhance the dashboard experience. Popular page builders like Elementor, Beaver Builder, and WPBakery allow for user-friendly interfaces that can be adapted for dashboard use.
Utilizing Page Builders
- Elementor: This drag-and-drop page builder is exceptionally versatile. With Elementor, you can design custom dashboard widgets, create tailored admin pages, and provide interactive tutorials for new users.
- Beaver Builder: Known for its ease of use, Beaver Builder allows you to customize the layout of dashboard elements, making it suitable for clients who require straightforward design.
- WPBakery: This builder provides extensive pre-built layouts, making it easy to adapt the dashboard without starting from scratch.
Steps to Customize the Dashboard
Accessing the Dashboard Customization Options
Customizing the dashboard requires some technical skills, but with the right tools, it’s a straightforward process. Here’s how you can get started:
- Install a Page Builder: Choose a compatible page builder and install it on your WordPress site.
- Enable Customization Mode: Most builders provide an ‘Edit’ mode for dashboard pages. Activate this mode to start editing.
- Create Custom Layouts: Utilize the features of your chosen page builder to design the dashboard layout. Organize it to reflect the client’s priorities.
Designing Custom Widgets
Widgets allow you to showcase specific information or tools right from the dashboard. Here’s how to create custom widgets:
- Identify Key Information: Determine what information is critical for your client, such as website traffic or recent comments.
- Utilize Builder Features: Use your page builder to add widgets to the dashboard. Customize their appearance, ensuring they meet branding guidelines.
- Arrange Widgets Logically: Organize widgets based on their importance. Keep the most critical information at the top for easy access.
Enhancing Dashboard Functionality
Once the layout is established, enhancing functionality is essential. This includes adding features that provide real value to clients.
Installing Useful Plugins
- User Role Editor: This plugin allows you to customize user roles and permissions, ensuring that clients only see information relevant to them.
- Adminimize: Use this tool to hide unnecessary menu items, reducing dashboard clutter. This is particularly helpful for clients who may feel overwhelmed by too many options.
- Custom Dashboard Widgets: Create specific widgets using plugins such as Dashboard Widgets Suite. These widgets can present tailored information or functionality based on client needs.
Training Your Clients
Even with a customized dashboard, clients may need some guidance. Providing training ensures they maximize the benefits of the new setup.
Creating Training Materials
- Video Tutorials: Short video guides can effectively explain dashboard features and functions. Consider creating a series of tutorials that clients can refer back to.
- Written Guides: Develop easy-to-follow documentation that outlines how to use the customized features. Incorporate screenshots for clarity.
- One-on-One Training Sessions: Offer personalized training sessions to walk clients through their new dashboard, answering any questions they may have.
Monitoring and Feedback
After the customization is complete, continual assessment is vital for long-term success. Gathering client feedback can help refine the dashboard further.
Implementing Feedback Loops
- Surveys: Send out periodic surveys to gather insights on client experiences. Ask specific questions about usability, satisfaction, and additional feature requests.
- Check-Ins: Regularly schedule check-ins to ensure clients are comfortable and to address any emerging issues.
- Performance Analytics: Utilize analytical tools to track how clients are using the dashboard. This data can reveal areas for further enhancement.
Conclusion
Customizing the WordPress dashboard for clients is an investment in their experience and your professional reputation. By simplifying navigation, enhancing brand consistency, and focusing on relevant functionalities, you can create a powerful tool that meets client needs and expectations.
Whether you opt to use a page builder or other customization tools, the ultimate goal remains the same: to deliver an intuitive, efficient, and user-friendly dashboard. With careful planning, implementation, and feedback, you can foster a positive relationship with your clients and empower them to manage their websites effectively.
