An Overview of AI Agents in Australia
Artificial Intelligence (AI) has significantly transformed various sectors in Australia, offering innovative solutions and enhancing operational efficiency. The landscape of AI is broad, encompassing various types of agents that serve different purposes. Let’s delve into the types of AI agents prevalent in Australia today.
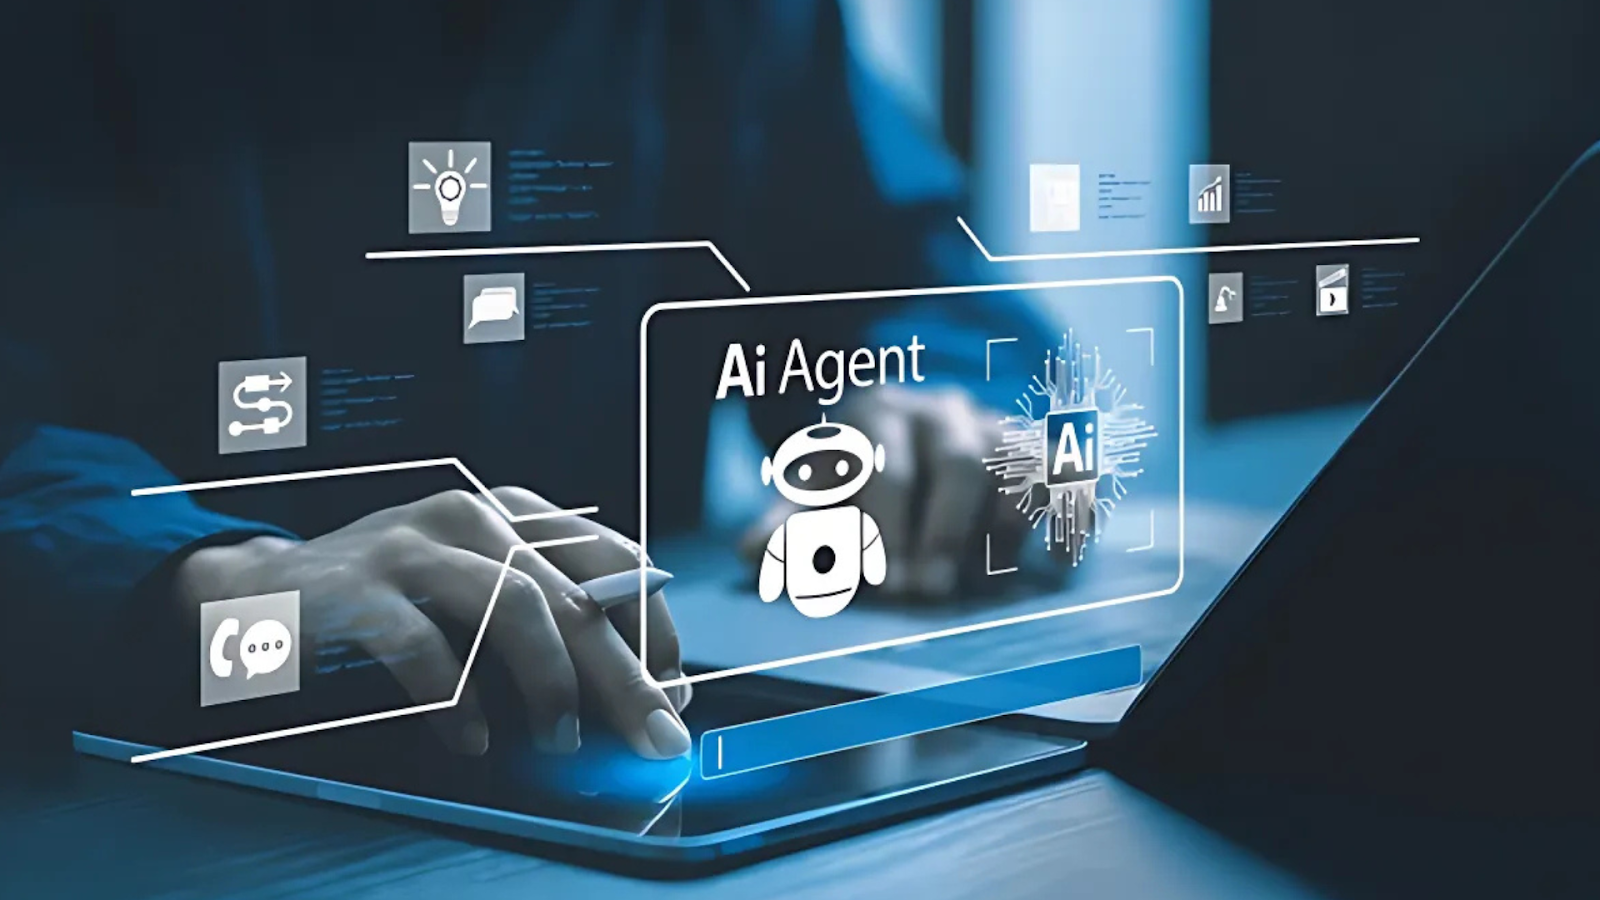
What Are AI Agents?
AI agents are computer programs, or systems, designed to carry out specific tasks autonomously or semi-autonomously. They leverage vast amounts of data, machine learning algorithms, and natural language processing to effectively emulate human-like responses or processes.
Categories of AI Agents
AI agents can generally be categorized based on their functionality and complexity. Three main types are prevalent in Australia:
- Reactive Agents
- Limited Memory Agents
- Theory of Mind Agents
Reactive Agents
Reactive agents are the simplest form of AI systems. They respond to specific stimuli or inputs without any stored memory or past experiences. Their decision-making process is straightforward, relying on predefined rules to generate responses.
Examples Available in Australia:
- Chatbots: Utilizing reactive agents, businesses across sectors employ chatbots for customer service, answering frequently asked questions, and guiding users through processes.
- Simple Automation Tools: These agents are often used in manufacturing, automating repetitive tasks based on set parameters.
Benefits:
- Low operational costs
- Instantaneous response times
- Efficient handling of routine inquiries
Limited Memory Agents
Limited memory agents build upon the capabilities of reactive agents by incorporating historical data into their decision-making processes. These AI systems analyze past experiences to inform future actions, enabling a more dynamic interaction model.
Examples Available in Australia:
- Personal Assistants: Virtual assistants like Google Assistant or Siri utilize limited memory agents. They learn user preferences over time, providing personalized recommendations.
- Recommendation Systems: Platforms such as Netflix or Spotify analyze past viewing or listening habits to suggest new content.
Benefits:
- Improved personalization
- Enhanced user experience
- Greater adaptability to changing circumstances
Theory of Mind Agents
Theory of mind agents represent an advanced category of AI that is still largely in development. These agents aim to understand human emotions, beliefs, and intentions, allowing for more sophisticated interactions.
Potential Applications in Australia:
- Healthcare AI: These agents could revolutionize patient care by understanding emotional cues and offering tailored support.
- Customer Engagement Tools: Businesses could use these agents to gauge customer sentiment, leading to better service delivery.
Benefits:
- Deeper understanding of user needs
- Enhanced emotional interaction
- Ability to respond empathetically
Applications of AI Agents in Australia
Australia’s diverse sectors leverage AI agents to enhance operations and drive innovation. The following sectors have seen significant AI integration:
1. Healthcare
AI agents are increasingly being utilized in Australia’s healthcare system. From virtual health assistants guiding patients through medical processes to AI algorithms analyzing patient data for better diagnostics, the potential is vast.
Key Features:
- Online consultations powered by chatbots
- Advanced diagnostic tools exploiting data analytics
- Predictive algorithms for treatment recommendations
2. Finance
In the financial sector, AI agents enhance decision-making processes, risk assessment, and customer service. Automated systems analyze market trends, helping investors make informed choices.
Key Features:
- Fraud detection systems analyzing transaction patterns
- Personal finance management apps using recommendation agents
- Virtual banking assistants improving customer interactions
3. Retail
The retail industry in Australia utilizes AI agents to personalize shopping experiences and optimize inventory management. From targeted advertising to predictive analytics, AI agents significantly enhance consumer engagement.
Key Features:
- Chatbots providing instant support on e-commerce platforms
- Inventory management systems predicting demand accurately
- Personalized marketing campaigns based on consumer behavior
Challenges and Ethical Considerations
While AI agents offer many advantages, several challenges and ethical considerations must be addressed.
Data Privacy
The use of AI agents often involves massive amounts of personal data, raising concerns about privacy and data security. Businesses must ensure compliance with regulations like the Australian Privacy Principles (APPs).
Bias in AI Algorithms
AI systems may inherit biases present in the data used for training. This can lead to unfair treatment or misrepresentation of certain groups, especially in sensitive areas like hiring or lending.
Job Displacement
As AI agents automate routine tasks, there is a valid concern about job displacement. Reskilling efforts become essential to prepare the workforce for an AI-enhanced job market.
Future Trends in AI Agents
The future of AI agents in Australia is promising, fueled by advances in technology and increasing adoption across sectors.
Enhanced Collaboration
Future AI agents will likely collaborate more seamlessly with humans. This synergy will promote efficiency and innovation, leading to enhanced productivity.
Integration of AI with IoT
As the Internet of Things (IoT) continues to expand, AI agents will play a crucial role in the interconnected environment, providing real-time data processing and intelligent decision-making across devices.
Continuous Learning Capabilities
Emerging AI technologies will facilitate continuous learning, enabling agents to adapt and refine their responses based on real-time feedback, leading to more accurate outcomes.
Conclusion
AI agents are reshaping the landscape of various industries in Australia. From healthcare to finance, their impact is profound, offering efficiency and personalization like never before. As we advance, addressing the ethical considerations and ensuring responsible integration of AI will be critical for a sustainable future. Understanding the different types of AI agents and their capabilities allows stakeholders to harness their potential effectively, paving the way for a more innovative and responsive society.